How to build a screened porch foundation and subfloor
September 10, 2026

Last updated: September 10, 2026
Key Takeaways
- Establish a benchmark from the house threshold and subtract the floor system thickness, usually 10 to 12 inches for joists plus decking and finish layers.
- For a screened porch, I would usually frame joists at 16 inches on center unless the span or decking product calls for tighter spacing.
- A problem shows up when the footprint forces the porch roof too close to eaves, trim, or downspouts.
- I am not writing for a slab-on-grade enclosure or a room over a basement.
A screened porch that stays flat, drains properly, and does not feel springy underfoot starts with the foundation and subfloor — not with a half-hearted deck frame. This piece on how to build screened porch foundation and subfloor is aimed at a homeowner or carpenter who already knows basic framing, can read a level and a tape measure, and is trying to sort out the support, floor height, and framing that will carry the porch.
I am not writing for a slab-on-grade enclosure or a room over a basement. Rather, I am talking about a raised screened porch attached to a house, usually framed on concrete piers, sonotubes, or a perimeter foundation, with a wood subfloor above. Planning to carry snow load on the porch roof? Or changing the house’s exterior wall? Then this is no longer a casual DIY job; local code review is needed, and an engineer is often part of the picture. For a simple screened porch on level ground, though, the sequence is plain enough: set the foundation first, then build a stiff, well-braced floor frame with proper moisture detailing. The International Residential Code and the American Wood Council’s DCA 6 both stress load paths, fastening, and flashing for attached decks and porch-like structures.
What kind of screened porch foundation makes sense?
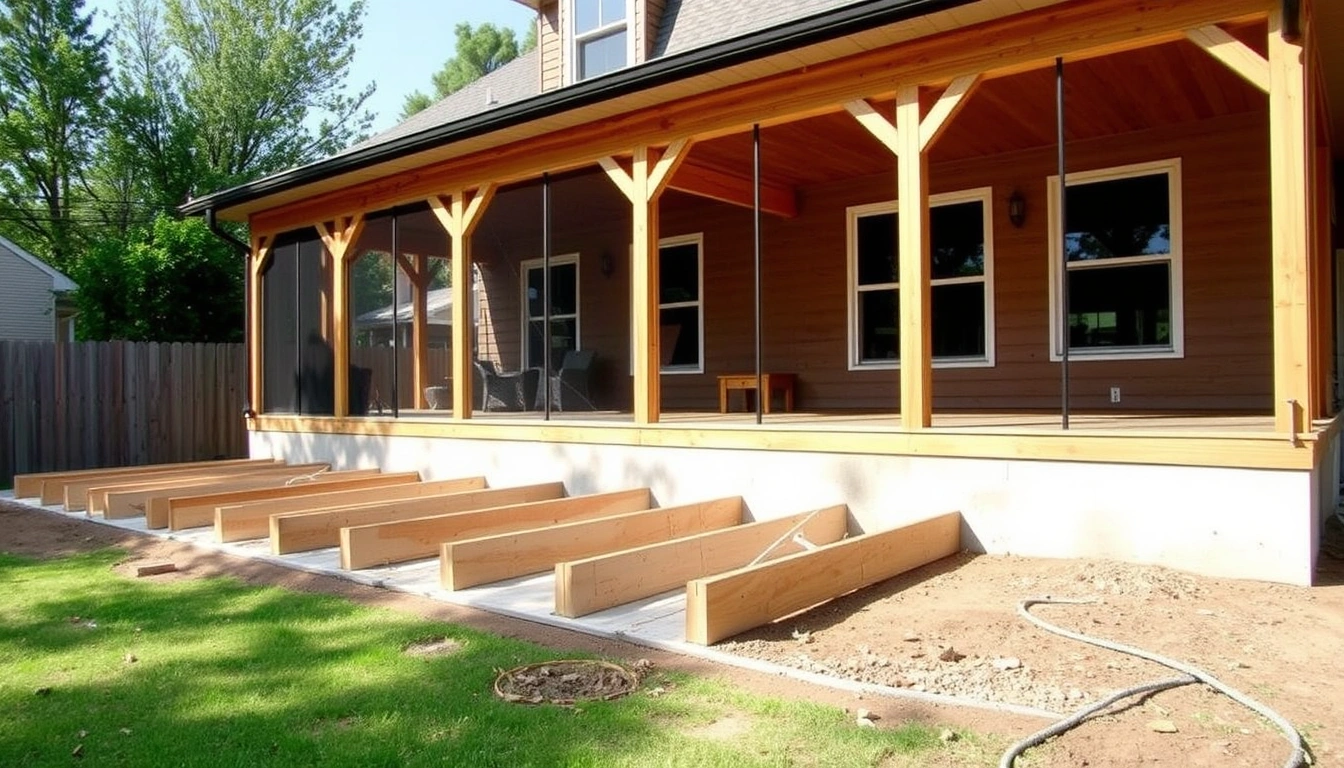
So what works best? The answer is the foundation that fits your soil, frost depth, height above grade, and connection to the house. For many screened porches, that means isolated concrete piers or footings below frost depth, or a continuous foundation wall with sill plate anchors. In colder climates, frost depth matters because shallow supports can heave and twist the porch floor. In wetter ground, drainage and a capillary break matter because wood that sits too close to soil or trapped water will rot long before the porch wears out. Local frost depth can vary widely; for example, the IRC maps and many local codes require footing depths well below grade in cold regions, and your building department should confirm the exact number before you dig.
A screened porch is not a deck with screens tacked on. A deck can live with a little movement and open gaps. A screened porch has finished floor expectations, a roof, and often a threshold tie-in to the house. That means I would aim for a stiffer base than the bare minimum code floor. If the site slopes, the foundation should create a level bearing plane instead of relying on tall posts and heroic bracing. Soft soil, organic matter, or fill? Dig until you hit competent ground; otherwise the first wet season can turn into sag and cracked finishes. Honestly, the soil check is one of those boring steps that saves money later. The right call is often to verify the soil and footing layout with a local pro before concrete goes in.
The usual choices are:
- Concrete piers or spread footings below frost depth, topped with post bases.
- A stem wall or perimeter foundation if you want a cleaner enclosed look or are tying into an existing foundation line.
- Helical piles where soils are poor or access is awkward, but those should be engineered and installed to spec.
For most framed screened porches, I would pick piers or a stem wall instead of shallow block stacks. Block on grade is the wrong tool when the porch carries a roof and finished floor. Cheap now, pricey later. That is the trade-off.
How do I lay out the foundation so the floor ends up square?
Start at the house line, then square the porch with diagonals instead of trusting the old patio edge or the lawn. Establish the finished porch elevation first. A common target is to keep the top of finished floor low enough to step through the door comfortably, while preserving enough clearance above grade for airflow and inspection. Check the door sill height, siding clearance, and the planned floor buildup before you dig a single hole.
Here is the order I would use:
- Mark the porch footprint at the house. Set batter boards or snap a chalk line at the outside corners, and keep the layout square with the house wall. Verify the planned width leaves enough roof overhang and screen wall thickness. A problem shows up when the footprint forces the porch roof too close to eaves, trim, or downspouts.
- Set finished floor elevation. From the house threshold, establish a benchmark and subtract the floor system thickness — usually 10 to 12 inches for joists plus decking and finish layers. Verify the porch surface will not trap water against the house. A floor that ends too high creates a puddling door sill. Bad news.
- Square the footprint by diagonals. Measure corner to corner until both diagonals match within 1/8 inch on a small porch or as close as practical on a larger one. Verify all opposite sides are parallel. A skewed frame later makes screening, trim, and decking fight you.
- Locate footings under load points. Put supports at corners, beam splices, and beam spans based on your beam design. Verify each footing is centered under the post load, not merely “close enough.” A post that lands on weak edge soil or outside the bearing line is trouble.
- Dig to required depth. Go below local frost depth and to undisturbed soil. Verify hole bottoms are level and free of loose fill. A footing sitting on mud, organic matter, or backfilled trench soil is a bad bet.
- Set forms or sonotubes plumb. Use a level in two directions and brace the forms so they do not shift during the pour. Verify the tops align to the same elevation. One wandering form can make a wavy floor.
- Pour and finish the concrete. Consolidate the mix, set anchor hardware while the concrete is workable, and leave a slight crown or clean finished top as appropriate for the detail. Verify anchor bolts or post bases are positioned exactly where the framing plan needs them. A mislocated anchor can force awkward notching or weak hardware.
If the porch is attached to the house, the ledger board detail matters just as much as the footings. A ledger is the structural board fastened to the house that carries one side of the floor frame. It must be flashed so water cannot run behind it, and it must fasten into structural framing, not just siding or brick veneer. For accepted ledger practices, the American Wood Council’s DCA 6 guide is worth reading, and your local building department may require a specific fastener schedule or flashing detail. The IRC also has prescriptive details for ledgers, fasteners, and corrosion-resistant hardware, so check both before setting anchors.
How do you build the subfloor so it feels solid underfoot?
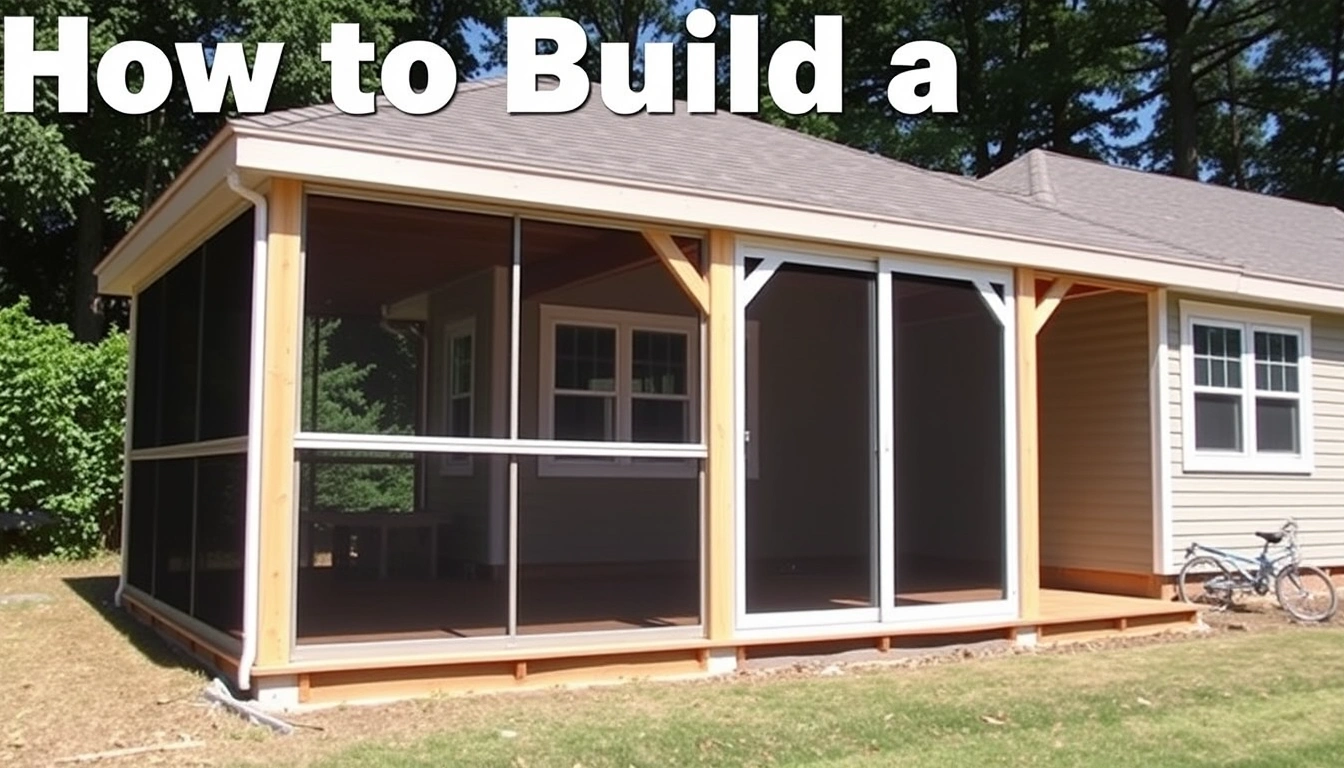
Treat the floor system like a rigid rectangle: beams sized correctly, joists spaced correctly, blocking where it belongs, and decking fastened for exterior exposure with some room for drainage. For a screened porch, I would usually frame joists at 16 inches on center unless the span or decking product calls for tighter spacing. Planning tile, stone, or another springy finish? Then the subfloor changes, and it may need a stiffer build than ordinary porch decking.
Begin with beams and posts. The beam carries the joists, and the joists carry the floor. Keep post tops aligned, then set beams level across them. Use joist hangers where the design calls for them, and use the correct hanger nails or structural screws specified by the manufacturer. A hanger filled with random deck screws is not a hanger installation; it is a weak guess. And if the span is long or the roof load is significant, ask a qualified contractor or engineer to confirm beam sizing before you build.
After that, install joists crown-up, with the crown being the slight natural arc in the lumber. Check each joist for straightness before fastening. Space them evenly, usually 16 inches on center, and add solid blocking where the span is long or where you need to stiffen edges and keep joists from rolling. On generous spans, a double rim board and midspan blocking can cut down vibration. For common span and spacing limits, the IRC span tables and the American Wood Council span calculator are useful references.
For the floor layer, many screened porches use exterior-rated tongue-and-groove plywood or porch decking over the joists, then a finish floor if desired. If the porch is truly exposed to wind-driven rain, leaving space for drainage is often smarter than trapping water under a decorative finish. The wrong move is to seal the floor like an interior room before solving waterproofing. Pressure-treated framing lumber and exterior-rated fasteners help, sure — but they do not replace drainage and ventilation.
A solid subfloor has three signs: it stays level, it does not drum or bounce, and fasteners do not squeak loose after the first season. If it feels springy before the screen walls go up, it will feel worse after the roof load and trim are added. For a screened porch, that stiffness is worth paying for because it improves comfort, reduces trim movement, and makes the finished space feel intentional rather than temporary.
What should I check before I start covering it up?
Check level, square, drainage, fastener pattern, and moisture separation before the first screen wall panel goes on. Once the floor is covered, fixes become slower and uglier. I would inspect four things in particular.
First, measure the floor plane in multiple directions. Put a long level or laser on the joists and look for high or low spots. A variation of more than about 1/8 inch over a short run can telegraph into trim issues, and a bigger deviation can make screen frames rack out of square.
Second, confirm drainage away from the house. Even with a raised porch, water can collect at the ledger, at door thresholds, or on any flat finish surface. Flash the ledger, slope any exposed water table details, and leave enough clearance so splashback does not keep the bottom of the framing wet. The Building America program and AWC both stress keeping water away from ledgers and wood joints.
Third, verify structural connectors. Post bases, anchors, joist hangers, and hurricane ties each do a different job. A post base keeps wood off concrete. A joist hanger supports joist ends. A hurricane tie helps resist uplift in a roofed porch. If any connector is under-fastened or installed with the wrong nails, fix it now.
Fourth, inspect every wood member that will be hard to reach later. Replace split joists, twisted rim boards, or posts with damaged ends before they disappear under decking and trim. A little lumber sorting here saves a lot of caulking and apology later. Also, make sure the porch floor is dry enough for the next layer, especially in humid weather.
When should I stop and choose a different approach?
Stop and change the plan if the site or structure no longer fits a straightforward framed porch. Here are the situations where I would not treat this as a simple foundation-and-subfloor project:
Frost depth is unknown or deeper than you are prepared to dig: That means shallow footings may heave — use code-compliant footing depth or get the foundation layout checked before you pour.
The porch roof will attach to the house and carry real load: That means the connection can affect wall framing and roof load paths — verify the attachment detail, and do not rely on siding or trim as structure.
The ground is fill, peat, or visibly soft after rain: That means settlement is likely — use deeper footings, engineered piles, or a different location.
The floor height would leave less than comfortable clearance at the door threshold: That means water management becomes harder — revise the elevation or consider a different porch type.
You need tile, masonry, or another brittle finish over the floor: That means deflection control becomes critical — stiffen the frame or choose a different floor build-up.
The porch is enclosed enough to behave like conditioned space: That means insulation, vapor control, and code requirements change — switch from a porch detail to a room addition detail.
Those are not small detours. They change the structure itself. When in doubt, the right answer is often to stop pretending this is “just a porch” and redraw it as a foundation-supported addition with the right review. If you are not sure, consult a local building professional or structural engineer before proceeding.
What mistakes actually ruin screened porch floors?
The mistakes that ruin screened porch floors are usually boring: wrong height, weak support, bad flashing, and too much confidence in wet lumber. The consequence is usually not dramatic collapse; it is a floor that sags, squeaks, ponds water, or pulls apart at the joints.
-
Setting footings too shallow. The result is frost heave or seasonal movement. The fix is to dig to local frost depth or use a foundation system that avoids shallow bearing.
-
Skipping ledger flashing. Water gets behind the ledger, rots framing, and stains finishes. The fix is metal flashing integrated with the weather-resistive barrier, not just caulk.
-
Using under-sized joists or too wide a spacing. The floor bounces and feels cheap. The fix is to size joists for the actual span, and when the span is long, use a smaller spacing or a deeper member.
-
Fastening hangers and connectors incorrectly. The result is weak connections that may not resist uplift or shear. The fix is the exact connector hardware and fastener pattern the manufacturer specifies.
-
Framing without checking moisture content or straightness. Wet or twisted lumber moves after installation and distorts the floor. The fix is to sort lumber before it becomes structure, and reject obviously crooked pieces.
-
Ignoring drainage under the porch. Water trapped under the floor accelerates decay. The fix is clearance, airflow, and ground grading away from the structure.
How long does this part of the project take?
Usually, it takes several days rather than one afternoon, because concrete, layout, and framing each move at their own pace. A simple pier-and-joist screened porch might take one day for layout and digging, one day for forms and hardware, a cure period for the concrete, and then one to three days for framing the floor depending on size and crew. Concrete does not need a guess; it needs time. The exact cure window depends on mix and weather, but I would not load green concrete casually just because it feels hard on top. For typical mixes, many contractors wait at least 24 to 48 hours before light work and closer to 7 days before meaningful loading, but you should follow the mix manufacturer and local pro guidance.
A good result usually looks boring in the best way. The floor is level to the eye, the porch door closes without rubbing, the screen walls land on straight lines, and the structure feels stiff when you walk across it. If you can see a dip, feel a soft spot, or hear the frame complain now, the problem will be louder after the porch is finished. That is why the first pass should be checked with a level, a tape, and a second set of eyes before trim starts.
What do I do with odd sites, slopes, and existing patios?
Adjust the standard approach when the ground, house, or existing surface refuses to behave like a clean rectangle. On a slope, stepping the foundation may be better than trying to make one tall set of posts do all the work. On a patio or old slab, you may be able to build part of the porch on a new footing line and part on the existing concrete, but only if the slab is sound, properly thick, and located at the correct elevation. If the slab is cracked, unreinforced, or out of level by more than a modest amount, I would not trust it as the main support.
If the porch ties into brick veneer, stone, or another fragile cladding, the ledger and flashing details deserve extra care because water and movement can telegraph damage into the wall. The same is true when the porch floor must meet a threshold or existing step: the dimensions have to work together, or splashback and trip hazards will show up later. In those cases, a revised porch footprint or a deeper foundation line can be the cleaner solution.
Because of that, the safest path is to confirm the design before framing begins. The topic is how to build screened porch foundation and subfloor, but a small adjustment in the foundation layout can save major repair work later. For a porch that connects tightly to the house, a local contractor may spot a ledger, roof, or water issue in minutes that would take a homeowner much longer to diagnose.