Screened porch planning and permitting — The Complete Guide
September 10, 2026
Last updated: September 10, 2026
Key Takeaways
- Set the footprint with a practical module, such as 8-by-10, 10-by-12, or 12-by-16 feet.
- In many residential areas, side-yard or rear-yard setbacks can be 5 feet, 10 feet, or more, but the exact number is local.
- Verify that the footprint allows comfortable circulation; a clear path of about 36 inches is a useful minimum for movement around furniture.
- Guards are usually needed where the walking surface is more than 30 inches above grade, though local rules may vary.
Table of Contents
- Screened porch planning and permitting — The Complete Guide
- Key Takeaways
- Who this guide is for, and what it assumes you already know
- What makes a screened porch a permit issue instead of a simple carpentry job?
- How do I plan a screened porch so the permit review goes smoothly?
- What does the permit office usually want to see?
- How do I choose the structure, roof, and screening details?
- When should I stop and bring in a professional?
- What mistakes cost people the most?
A screened porch sounds simple until the lot line, roof tie-in, and local code all show up at once. That is the real test for screened porch planning and permitting. Not the sketch. Not the sales photo. The question is blunt: what size, location, structure, and permit path will your local code allow? The answer turns on zoning setbacks, structural loads, footings, egress, and whether you are enclosing an existing porch or starting from bare ground.
Who this guide is for, and what it assumes you already know
This guide is for a homeowner or property owner who wants to add a screened porch that will pass permit review and not create a future headache at resale. I am assuming you already know the basic difference between a deck, a porch, and a sunroom, and that you are trying to decide how far to push the project before the permit office says no. Also, this is a typical residential job — not a commercial patio enclosure or a historic district project with a separate design review board.
The biggest mistake I see in screened porch planning and permitting is treating a screened porch as “just a roof with bug mesh.” That sounds harmless. It is not. In permit terms, the project can become a roofed accessory structure, sometimes an addition, sometimes an alteration to an existing porch, and the label matters. Screen it in over an existing deck, and the review may shift from simple zoning to structural retrofit: joists, beams, footings, lateral bracing, and connection details all land in the file. The International Residential Code, which many jurisdictions use directly or with local amendments, is the core reference most plan reviewers work from. Your town may also lean on local zoning bylaws, HOA rules, and floodplain regulations.
I would not treat this as a do-it-yourself permit if any of the following are true in screened porch planning and permitting: you are in a flood zone; the porch attaches to a masonry house with tricky flashing; the project changes roof lines or drainage; the site is on a slope; or the porch will be built over an existing deck whose framing you have not opened up. In those cases, a licensed designer, engineer, or local builder familiar with your permit office can save you from a costly redesign. But if your project is a simple, ground-supported screened porch within normal setbacks, on a straightforward lot, with clear access to the house framing, then a careful homeowner can often manage the planning and paperwork. HUD’s basic housing guidance and many local building departments both emphasize checking site conditions before work begins: HUD.
One practical note: permit rules are local. A plan that sails through in one county can fail in the next because of snow load, wind exposure, or even a stricter definition of “habitable space.” That is why the right first move is not buying screens. It is confirming what your jurisdiction calls the structure and what drawings they want. Plain and simple.
What makes a screened porch a permit issue instead of a simple carpentry job?
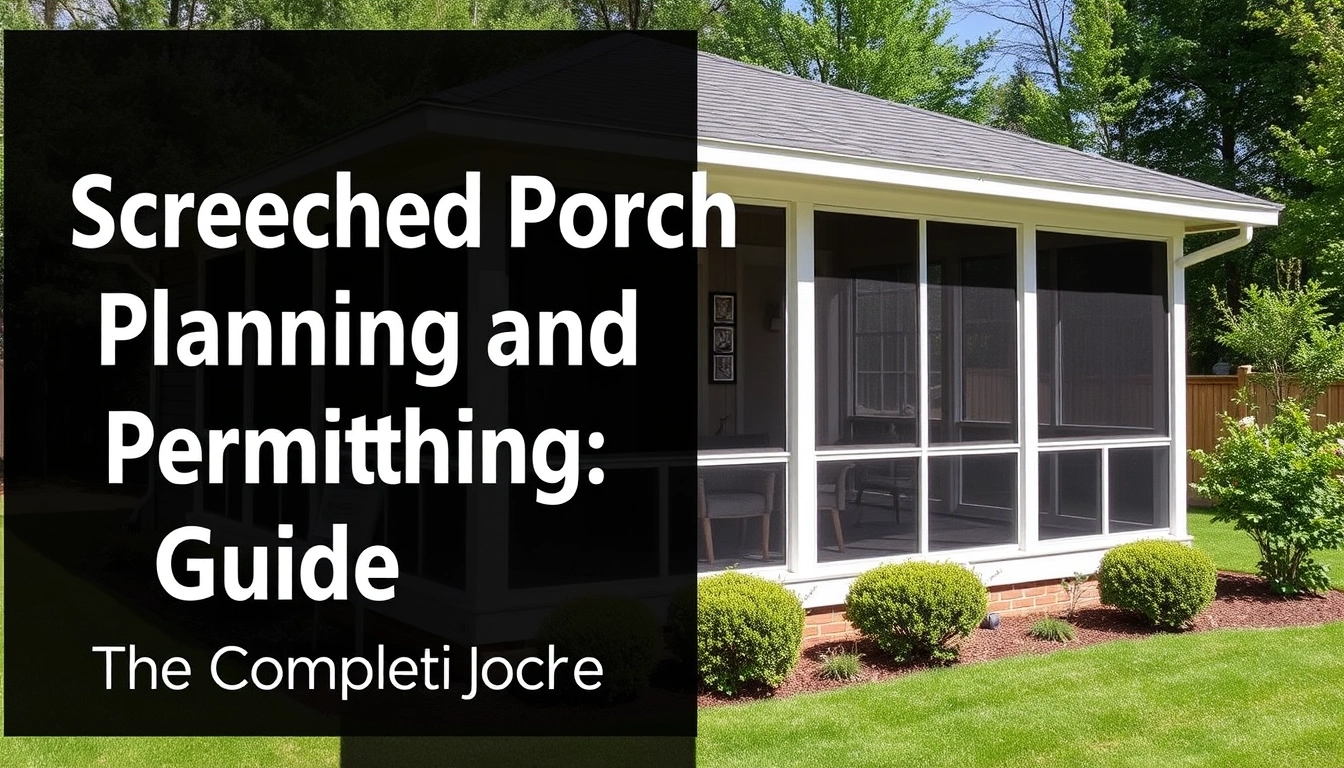
A screened porch becomes a permit issue when it changes the building footprint, roof load, structural attachments, or use of the space. In most places, the trigger is not the screen itself; it is the foundation, the roof, and the connection to the house. A 10-by-12-foot porch with a roof and footings is a different animal from replacing a few railing panels with screen inserts.
Start by sorting the project into one of three buckets. First: a new screened porch on its own footings. This usually needs zoning review, building permit review, and sometimes a separate electrical permit if you add outlets or lights. Second: enclosure of an existing covered porch or deck. This can look minor but often requires proof the existing structure can carry the added dead load from framing, trim, and the roof system. Third: conversion of an open deck into a screened porch with a roof. That is the paperwork-heavy one because you are adding both enclosure and overhead structure.
The technical terms matter. “Dead load” means the permanent weight of the structure itself. “Live load” means people, furniture, snow, and other temporary loads. “Lateral load” is the side-to-side force from wind or seismic movement. A screened porch is light compared with a full room, but the roof and wall framing still have to be designed to resist all three. In snow country, roof design can be the difference between a routine permit and a redlined plan. In coastal or high-wind areas, screening does not reduce wind pressure enough to ignore the enclosure. The American Wood Council’s span and load resources are useful here, and the IRC remains the common baseline in many jurisdictions: American Wood Council.
The permit office also cares about use. A screened porch is usually non-habitable space. Sounds minor? It changes the whole checklist. You may not get the same insulation, HVAC, or egress requirements as a conditioned room, yet you still need safe stairs, guards, handrails, and proper flashing where the porch meets the house. If you plan to run the space as a three-season room later, say that up front. Hiding the intended use is how projects get delayed or rejected.
A generic article would stop at “check with your local building department.” Too thin. You need to know what they will ask for: site plan, footing detail, framing plan, roof pitch, elevation drawings, and sometimes product data for screen systems or structural connectors. A short call before drawing starts can prevent a week of revisions later. The ICC’s Residential Code information is a good starting reference for what reviewers often expect: International Code Council.
How do I plan a screened porch so the permit review goes smoothly?
Lock down location, size, structure, and drainage before you sketch details. In screened porch planning and permitting, the reviewer is looking for consistency, not artistry. A clean plan set usually shows the porch footprint, distances to property lines, roof tie-in, foundation type, floor height, and how water leaves the roof and deck.
- Confirm the zoning envelope before you choose size. Measure setbacks from the property lines and any easements. In many residential areas, side-yard or rear-yard setbacks can be 5 feet, 10 feet, or more, but the exact number is local. Verify the maximum lot coverage and any height limit before you draw a 14-by-16-foot porch. A problem is any porch corner that lands inside a setback or pushes the parcel over its coverage limit.
- Decide whether the porch is freestanding, house-attached, or a roofed extension of an existing structure. Write that choice on the plan. A house-attached porch usually needs ledger flashing detail and load transfer into the house framing, not just cosmetic fastening. Verify that the house wall can accept the attachment. A problem is attaching to brick veneer, foam sheathing, or an older rim joist without a sound load path.
- Set the footprint using a practical module, such as 8-by-10, 10-by-12, or 12-by-16 feet. Those dimensions help standardize joist spans, screen bay spacing, and roof framing. Verify that the footprint allows comfortable circulation; a clear path of about 36 inches is a useful minimum for movement around furniture. A problem is a porch that is too shallow to use, even if it is technically permitted.
- Choose a foundation type that fits the soil and frost conditions. If your area has frost depth, footings typically need to extend below the local frost line; the exact depth is local code. Show pier, spread footing, or slab details as required. Verify that the foundation is sized for the roof and wind loads, not just the screen walls. A problem is using deck blocks or shallow supports where the code expects frost-protected footings.
- Specify the roof shape and pitch early. A simple shed roof is often easier to permit than a complex hip or gable tie-in. A pitch in the range of 3:12 to 6:12 is common for porch roofs, but the final choice must satisfy the roofing material and local snow/drainage rules. Verify the proposed roof does not dump water toward the house. A problem is a tie-in that creates ice dams, rot, or a valley the original house never had.
- Draw the screen wall layout with structural posts, not just screen panels. Screen openings need framing, corner posts, and often intermediate posts to handle roof and wind loads. Verify post spacing, beam support, and any required blocking. A problem is relying on lightweight screen rails alone to do structural work they were never meant to carry.
- Show door placement, stairs, landings, and guards at code-friendly dimensions. A typical landing at a door should be large enough to stand on safely; many jurisdictions require at least 36 inches in the direction of travel, sometimes more. Guards are usually needed where the walking surface is more than 30 inches above grade, though local rules may vary. Verify stair rise and run are consistent from top to bottom. A problem is a pretty porch with unsafe steps or a door that opens onto a narrow landing.
- Add drainage, flashing, and electrical locations to the same sheet. Show kick-out flashing, step flashing at roof intersections, and how gutters or downspouts move water away from footings. If you are adding lights or receptacles, note that they need separate electrical permit review in many places. Verify that outlets, if added, will not land where water can collect. A problem is a code-perfect porch that still rots because the roof edge and wall flashing were left vague.
I would also build the permit packet around the documents your office is most likely to ask for: a site plan, floor plan, elevations, foundation detail, roof section, and connection details. On a slope or near a drainage swale, add spot elevations. In a snow-load area, note the ground snow load if your jurisdiction requires it. If you do not know that number, the building department usually does.
One thing a generic guide rarely says: the cleaner your drawings, the less likely you are to get bounced for corrections. A simple scale, clear dimensions, and labeled materials beat decorative renderings every time. No gold stars for flair.
What does the permit office usually want to see?
The permit office usually wants enough information to prove the porch is safe, sized correctly, and legal on the lot. That usually means a site plan, framing plan, foundation detail, roof plan, elevations, and, in some cases, engineered details for unusual spans or loads. If your porch changes the exterior wall, some jurisdictions also want wall-sections that show the ledger, flashing, and connection hardware.
A site plan should show the house, the proposed porch, property lines, easements, distances to all boundaries, and any other buildings. A lot of delays come from missing dimensions. If the porch is 12 feet by 16 feet, show all four sides and the setback from each relevant line. If there is a pool, septic tank, well, or utility easement nearby, mark it. A plan reviewer cannot approve what they cannot place on the parcel.
A framing plan should show post locations, beam size, joist direction, joist spacing, roof framing, and any header over a door opening. The standard framing vocabulary matters because it tells the reviewer you are not guessing. “Ledger” is the board attached to the house that supports the porch framing. “Header” is the beam over an opening. “Rafter” is the sloped roof member. “Soffit” is the underside of the roof overhang. Learn the terms before you draw; that alone cuts down the back-and-forth.
For foundation details, the reviewer wants to know how loads get to the ground. That means footing size, depth, pier diameter if applicable, and the connector between the post base and the concrete. If your area requires a specific anchor type or post base uplift rating, show the product or the design value. I would avoid vague notes like “securely fastened.” That sentence does not pass review.
The roof plan should show slope, direction of drainage, and where the porch roof meets the house. The attachment point matters more than the pretty shape. If the porch roof terminates into a wall, the flashing detail must be clear. If it ties into a main roof, the valley and step flashing need to be drawn, not implied.
A good plan packet also answers the “what is not included?” question. If the porch is screened only and not heated, say so. If there is no plumbing, say so. If the floor is open framing with a finished deck surface, identify the decking material. That clarity can keep the permit from drifting into a much bigger scope than you intended.
For authoritative guidance, the International Code Council publishes the IRC, and many local departments base their checks on it. Your state or local building department website is the other source that matters most. If you want a standards reference for guard and stair details, the IRC is the document most reviewers will recognize.
How do I choose the structure, roof, and screening details?
Choose the structure first, then the roof, then the screens, because the screens are the least important structural element. The porch must stand safely without depending on the mesh. Obvious? Yes. Yet plenty of drawings get that backward.
For a typical residential screened porch, I would prefer a simple post-and-beam frame on proper footings over any system that relies on lightweight rail kits. Posts should line up with load paths, and the beam should carry the roof members cleanly. The roof can be a shed roof, a simple gable, or a porch roof tied into the house, and the best choice is usually the simplest roof that sheds water cleanly and fits the house geometry. Every extra valley, dormer, or jog adds more flashing, more structural checks, and more room for leaks.
Screening comes in a few forms. Standard fiberglass mesh is common because it is flexible and affordable. Aluminum screen is stiffer and can hold a straighter line, but it can crease. Pet-resistant screen is heavier and more durable around claws, though it reduces some visibility. No screen material can make a weak frame acceptable, so the screen choice should follow the structure, not substitute for it.
The screen wall itself needs real framing. I would plan for posts or framed bays that allow screen panels to be replaced without tearing apart the whole wall. If you want an open view, keep the number of intermediate supports reasonable, but do not stretch spans so far that the screen bows. A screened porch with 6-foot or 8-foot bays can work well, but the exact spacing depends on the framing system and local wind load.
Because the floor is part of the permit review too, pay attention to the transition at the floor. Many screened porches use pressure-treated floor framing with a durable deck surface or a slab with a framed perimeter, and a local builder or designer can help confirm which option fits the site and permit path. A slab can simplify accessibility and reduce bounce, but it changes drainage and elevation planning. A framed floor gives flexibility and keeps the porch floor above splashback, but it must be detailed for moisture. I would not bury untreated wood near grade. Bad idea.
The roof finish should match the climate. Asphalt shingles are common and straightforward. Metal roofing can be a smart choice when you want faster water shedding and a thinner roof assembly, but it may require sound-deadening and proper fastening details. The permit office cares less about style than about the load path, flashing, and fire classification if local rules require it.
If you want to avoid a permit tangle, do not mix “screened porch” and “sunroom” language. A sunroom is often a conditioned or partially conditioned enclosed room with different insulation and energy-code implications. A screened porch is open to air by design. Once you blur that line, you can inherit a much larger code package than you planned.
When should I stop and bring in a professional?
You should stop and get qualified help when the project crosses from straightforward porch framing into structural, drainage, or code-complex territory. That is not because a homeowner cannot understand the paperwork. It is because the cost of a wrong assumption is usually a failed inspection, a redesign, or a dangerous structure.
Existing deck framing is unknown or hidden: if you want to screen in a deck but have not opened the ledger, joists, beams, and footings, you do not know the load capacity — have a contractor or structural engineer assess it before you submit plans. A screened porch roof adds