Screened porch construction methods — The Complete Guide
September 10, 2026

Last updated: September 10, 2026
Key Takeaways
- Check the openings first. They need to be square, and the doorway opening has to fit a real exterior door — usually 32 or 36 inches wide.
- A screened porch only works when the structure, roof, drainage, and screening method all match each other.
- I’m also assuming you already know a screened porch is not a sunroom.
- Post-and-beam framing is the cleanest option for a new screened porch.
A screened porch works only when the structure, roof, drainage, and screening method all line up. In this screened porch construction methods — complete guide, that fit matters more than any single finish choice. Miss one piece, and the result can be sagging screens, rot at the sill, a floor that holds water, or a porch that feels like a wind tunnel instead of a room. Ugly. Fast.
Who this guide is for — and what it assumes you already know
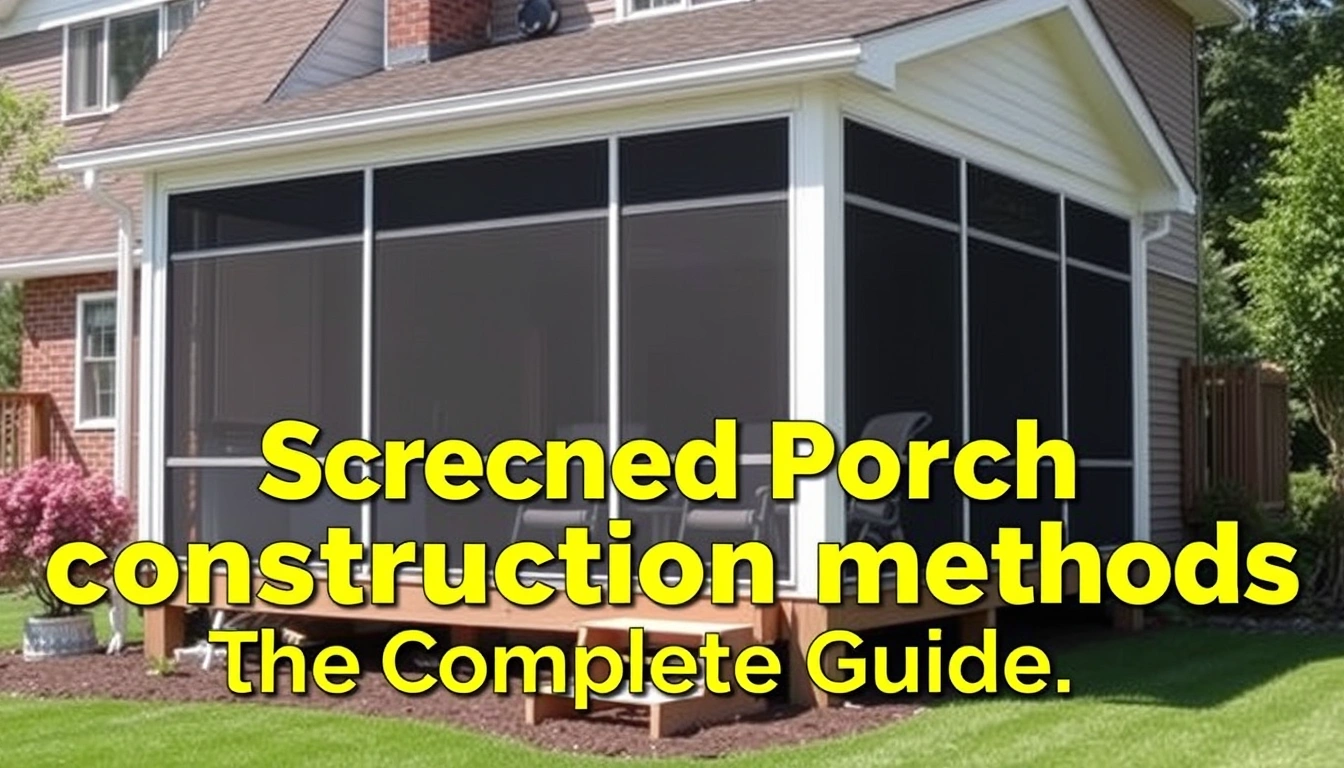
This guide is for a homeowner planning a new screened porch or converting an existing porch. It assumes you already know the basics of your house: where the porch will attach, roughly how large you want it, and whether the space will be open on an existing deck, slab, or framed floor. I’m also assuming you understand that a screened porch is not the same thing as a sunroom. It is an exterior room with insect screening, not a fully conditioned enclosure. For code and attachment basics, see the IRC and your local building department.
This screened porch construction methods — complete guide also assumes normal residential materials. And it assumes you will consult a licensed contractor or structural professional if the porch ties into a load-bearing wall, masonry veneer, or an older deck. Pressure-treated framing lumber, exterior-rated fasteners, house wrap or flashing tape where the porch meets the house, and screening systems made for outdoor use are the standard starting point. Not a substitute for site-specific engineering. I’ll use the term ledger for the board that attaches a porch or deck to the house, and flashing for the thin waterproof material that directs water away from that connection. Those two pieces decide whether the porch stays dry for years or rots at the wall in a few seasons.
Small details turn expensive in a hurry. A porch framed with treated 2x lumber but fastened to an old rim joist with the wrong connector can move, crack, and open gaps at the screen corners. A roof pitch that is too flat will dump water where you do not want it. A floor built like a deck may be fine for open-air use but wrong for a screened porch if you later add tile, heavier furniture, or close in the lower walls. A 2019 NAHB cost survey found that exterior renovation details can vary sharply by region, so material choice and attachment method matter as much as price. That math gets ugly.
I would not treat this as a casual weekend project unless the porch is small, rectangular, and independent of the house roof line. If you are unsure about the attachment, flashing, or load path, consult a pro before you start. A simple 8-by-10-foot platform with a shed roof is one thing. A porch that ties into the main roof, crosses a load-bearing wall, or requires you to alter eaves and flashing is another. In those cases, the carpentry is only part of the job; the structural and water-management details are the real work.
What is the best construction method for a screened porch?
The best method is the one that matches your existing structure: framed floor on footings for a freestanding porch, ledger-and-post construction for an attached porch, or a roof-over-deck conversion only when the deck can support the added load and the attachment to the house is corrected first. There is no universal “best,” only the method that fits the site without forcing bad compromises. The IRC and many local codes require the structure to be matched to the actual loads, not to a preferred style.
The standard choices are these:
- New framed porch on footings: best for long-term durability and clean integration with the house. The porch gets its own posts, beams, joists, and roof structure. It costs more in labor and materials, but it avoids relying on an old deck frame.
- Convert an existing covered porch or deck: best when the structure is already sound and you mainly need screen walls, rails, and insect protection. This is the cheapest route only if the frame, footings, and roof already meet the load and moisture requirements.
- Build under an existing roof extension: best when the house already has a porch roof or deep overhang. This can be the simplest visually, but the framing must still handle screen loads and wind.
- Attach to the main house roof: best for a fully integrated look, but it is the least forgiving method. It usually requires careful roof cutting, step flashing, and precise drainage details.
Budget is not the first filter. Structure is. A deck that is fine for open-air use may not be right for a screened porch if the railing posts are weak, the joists are undersized, or the footings are shallow. The porch has to resist wind, live load, and racking loads from the screens and doors. In practical terms, that means the frame must stay square within about 1/8 inch across each bay if you want the screen panels to fit without visible waves. For attachment details, the American Wood Council and your local code office are better references than guesswork.
I’d choose a freestanding framed porch if I were starting from scratch. It gives me the cleanest moisture break from the house and the most control over roof pitch, beam size, and post placement. I’d avoid a “just screen in the deck” approach if the deck is old; it often hides problems instead of fixing them. That approach is wrong for anyone whose deck has soft spots, wobbly rails, or questionable flashing at the ledger.
How do you build a screened porch, step by step?
You build it by getting the base, frame, roof, and screen system in the right order, and by checking each stage before the next one covers it up. The sequence below is the one that keeps me from burying a mistake under finish materials. The CDC also notes that outdoor spaces with insect barriers can reduce nuisance bites when the enclosure is properly maintained.
- Confirm the porch layout and set the finished floor height. Start with batter boards and string lines, then mark the footprint. Set the finished floor at least 6 inches below any nearby interior threshold if water splash or snow drift is likely. The diagonals should match within 1/8 inch so the rectangle stays square. If they do not, the screen panels and roof lines will advertise the error later. A 10-by-12-foot porch has enough room for layout errors to show up visually, so check the numbers twice.
Short version: square now, regret less later. - Build proper support at the ground. Use footings sized and placed for your local frost depth and soil conditions, or use the existing slab only if it is sound and thick enough for the intended loads. The tops of all footings or piers should land within 1/4 inch of one another. One high pier forces the beam, and that twist shows up as crooked screen frames and a door that will not latch cleanly. In many frost regions, footing depth can run 24 to 48 inches or more, so local requirements matter.
No guessing here. - Install posts, beams, and the floor frame. Use pressure-treated posts and beams, and fasten them with approved post bases, beam connectors, and structural screws or through-bolts. For a typical porch, joists often land in the 16-inch on-center range, though the exact span depends on species and size. Keep the frame level and the joists crowned consistently. If the frame rocks or the rim is out of level, the finish floor will feel springy and the screen wall corners will fight you. A 12-foot span may work with one joist size and fail with another, so span tables matter.
That’s the boring part. Also the important part. - Flash the house connection correctly. If the porch attaches to the home, install the ledger with proper waterproofing: self-adhered membrane behind and over the top edge, metal flashing that directs water out, and bolts or lags approved for the wall type. Make sure water can move out and down, not behind the ledger. Any gap that traps water is a rot point, and it often stays hidden until trim fails. Follow the flashing sequence in manufacturer instructions and local code guidance.
No shortcuts. - Frame the roof with real pitch and drainage. A shed roof usually needs at least 1/4 inch per foot of slope for practical drainage, while shingle roofs often need steeper pitch depending on the roofing product. Make sure the roof framing lands where your flashing plan expects it to land. If the slope is too shallow, water lingers, roofing ages faster, and screen hardware at the top of the wall gets sprayed and stained. On many projects, a 2:12 roof pitch is a practical minimum for low-slope details, but always confirm the roofing specification.
Water does not negotiate. - Install the roof deck and roofing. Use exterior-rated sheathing, then roofing that matches the slope and exposure—metal, shingles, or another approved system. Every penetration needs flashing, and every edge detail should shed water away from the porch walls. If you see exposed nail heads where water can sit, stop and correct them before trim goes on. A small leak at the porch roof can damage framing in one rainy season.
That’s not a small leak for long. - Frame the screen walls and openings. Build the screen wall structure plumb, then size openings for the screen system you plan to use. Many screen frames work best when each bay is kept within a narrow tolerance and the corners are reinforced. Verify the openings are square and the doorway opening is sized for a real exterior door, usually 32 or 36 inches wide. If the opening bows or rack is visible, the screen will ripple and doors will bind. A 36-inch door is easier to move furniture through than a 32-inch door.
Furniture has opinions too. - Install the screening system, trim, and weather details. Use a screen spline system, aluminum frames, or a modular porch screening product, depending on the design. Keep screen tension even and cut clean corners. Make sure there are no sharp edges, loose spline, or fasteners that can cut the mesh. If a panel sags after installation, the frame is probably out of square or the spline groove is damaged. For repairable systems, replaceable panels are usually easier to maintain than one large fixed screen field.
I prefer repairable panels. Less drama later. - Finish the floor and lower walls for water management. Choose a porch floor that tolerates moisture: composite decking, properly detailed tongue-and-groove porch flooring, concrete with exterior finish, or tile over a suitable substrate. Water has to drain away from the house and the lower wall trim must not trap runoff. If the floor holds puddles longer than a few hours after rain, you have a drainage problem, not a finish problem. A 1/8-inch-per-foot slope is often enough to move water on hard surfaces.
Wet feet are a clue.
The detail people miss most often is the order of operations. The screen comes last because it is fragile and tells the truth. If the frame is out of square by even a small amount, the screen will show it. If the roof and flashing are wrong, the screen will not save the porch from moisture. I would rather spend an extra day on layout and flashing than spend a season looking at crooked lines and early rot. For product-specific flashing details, manufacturer instructions and the ICC are the safest references.
Which framing method should you use: posts, ledger, or existing structure?
Use the lightest method that still gives you a structurally honest porch. Usually, that means full post-and-beam framing for a new build, ledger attachment only when the house structure is proven, and existing structure only when it is already sound enough for the new load. The method changes the whole job, not just one detail.
Post-and-beam framing is the cleanest option for a new screened porch. Posts carry the roof and sometimes the floor, beams span between posts, and joists span between beams or walls. This method isolates the porch from house settlement and makes repairs easier because the framing is visible. It is also the best choice when the porch has a large footprint, a gable roof, or a complex opening pattern. The trade-off is cost: you buy more lumber, more footings, and more labor.
Ledger framing attaches one side of the porch or deck to the house. It is efficient, but it only works when the house rim joist or band joist can take the load, the flashing is detailed correctly, and the fasteners are appropriate for the wall assembly. This is where people get in trouble. A ledger on brick veneer, stucco, or a poorly flashed wall can fail if the moisture barrier is not handled correctly. If the wall assembly is unusual, the method is wrong unless you understand the load path and waterproofing. The American Wood Council deck guide is a credible reference for ledger fastening and load paths.
Existing structure conversion is the method for a porch or deck that already has a sound roof and floor. In that case, the work shifts to adding screened openings, reinforcing rail infill, and improving the weather seals. This is the easiest to justify financially, but it is also the most deceptive. A deck built to minimum code for open use can still feel flimsy once you add screen walls, doors, and privacy panels. If the rail shakes now, expect trouble later. If you are converting a deck older than 15 years, inspect the ledger, rail posts, and footings before adding screening.
I lean toward post-and-beam when the goal is a porch that should last decades. I would only choose ledger construction where the house wall is straightforward and the waterproofing details are familiar. I would not use the existing-deck method if the deck is older than about 15 years and has any sign of ledger moisture damage, because the shortcut usually becomes a rebuild.
What should you check before you cover anything up?
Check square, level, drainage, fastener schedule, and flashing before any screen or trim hides the frame. This is the point where a porch either becomes maintainable or becomes a future repair bill.
The first check is square. Measure diagonals on the floor frame, the roof frame, and the main screen openings. If the diagonals differ by more than 1/8 inch in a small bay or about 1/4 inch over a larger run, correct it now. Once the screen is installed, a twisted bay will show as a bowed line from across the yard. Straight lines do not lie.
The second check is level and plumb. Use a level or laser level on the sill, beams, door jambs, and corner posts. A post that leans just a little causes screen tension to vary from top to bottom. That means one side looks tight and the other sags. Plumb matters more on a screen porch than many people expect because the eye sees every line.
The third check is drainage. Water must move away from the house and away from the porch floor edge. If the porch ties into a roof valley or lower roof, the flashing path has to be obvious. On a concrete porch, a 1/8 inch per foot slope is often enough to move water; on a framed porch, the deck surface must still shed water rather than trap it against trim. A porch that drains badly can create standing water within minutes after a storm. Sneaky problem. Big mess.
The fourth check is fasteners and connectors. Exterior jobs need corrosion-resistant hardware, and pressure-treated lumber needs fasteners compatible with the treatment chemicals. If you see bright interior screws where exterior connector screws should be, stop and replace them. Fasteners are cheap compared with a failed beam hanger. Stainless or hot-dip galvanized hardware is common in coastal or wet areas.
The fifth check is opening size. Screen systems, doors, and trim packages all have their own tolerances. If the opening is off by 1/2 inch, the door may fit but the reveal will look sloppy, and that is before seasonal movement. A porch is a wet, moving structure; leave room for expansion and shrinkage. A 32-inch exterior door needs more than 32 inches of rough opening once jambs and shims are included.
A generic article usually skips this pre-cladding audit because it is not glamorous. It is also the part that keeps a porch from becoming a maintenance trap. I’d rather delay finish work one more day than cover a problem I can still see with my own eyes.
When should you stop and use a different approach?
You should stop when the site or structure makes a standard screened-porch method the wrong tool, not the merely inconvenient one. Here are the situations that change the answer.
Existing deck ledger shows rot, staining, or soft wood: the load path may already be compromised — rebuild or open the wall and repair the attachment before screening it in.
The porch roof would need a major cut into the main roof framing: the water and structure details become more than a simple porch project — shift to a freestanding roof or have the roof tie-in designed properly.
The slab is cracked, heaved, or sloped the wrong way by more than about 1/2 inch across the porch width: the finish floor will never sit right — correct the slab or use a framed floor on new supports.
The wall assembly is brick veneer, stucco, or another layered system you cannot clearly flash: hidden water paths are likely — do not bury the connection behind trim until the flashing plan is explicit.
You want a heavily enclosed “porch” with glass, heat, or year-round use: a screened porch is the wrong category — design for a sunroom or conditioned addition instead.
The porch needs large spans with few posts but you are trying to keep standard 2x framing: the structure will be too flexible — use an engineered beam or change the layout.
The site has severe wind exposure or frequent storm debris: basic screen mesh and light framing will take abuse — upgrade the frame, fasteners, and screen system or accept frequent repairs.
The consequence in all of these cases is the same: the porch looks finished before it is truly sound