How to install screening panels on a porch frame
September 10, 2026
Last updated: September 10, 2026
Key Takeaways
- If the bay is 36 inches wide, measure diagonals corner to corner.
- Scrape old paint ridges from the contact edges and sand obvious high spots with 80- to 120-grit paper.
- Another mistake is using too few fasteners, often one staple every 8 to 12 inches.
- For a more finished look, wood battens 3/4 inch thick by 1 to 2 inches wide can hide the cut edge cleanly.
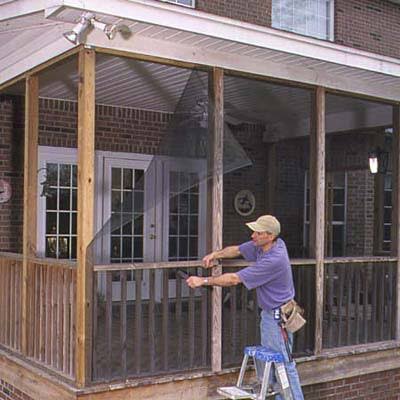
Installing screening panels on a porch frame means fastening prebuilt screen panels or screen sections into openings that are already framed. That keeps the porch’s shape intact, holds the screen tight, and lets doors swing cleanly. This guide on how to install screening panels on a porch frame is meant for a homeowner or handy DIYer who already has a sound porch frame, basic carpentry tools, and a plan for how the screens will be held in place—spline system, batten strips, or a made-to-fit panel kit. But if the frame is rotten, out of square by more than about 1/4 inch across a bay, or supporting a roof you are unsure about, don’t improvise around that. Fix the structure first, or hand the structural part to a qualified carpenter.
What kind of porch frame this method fits
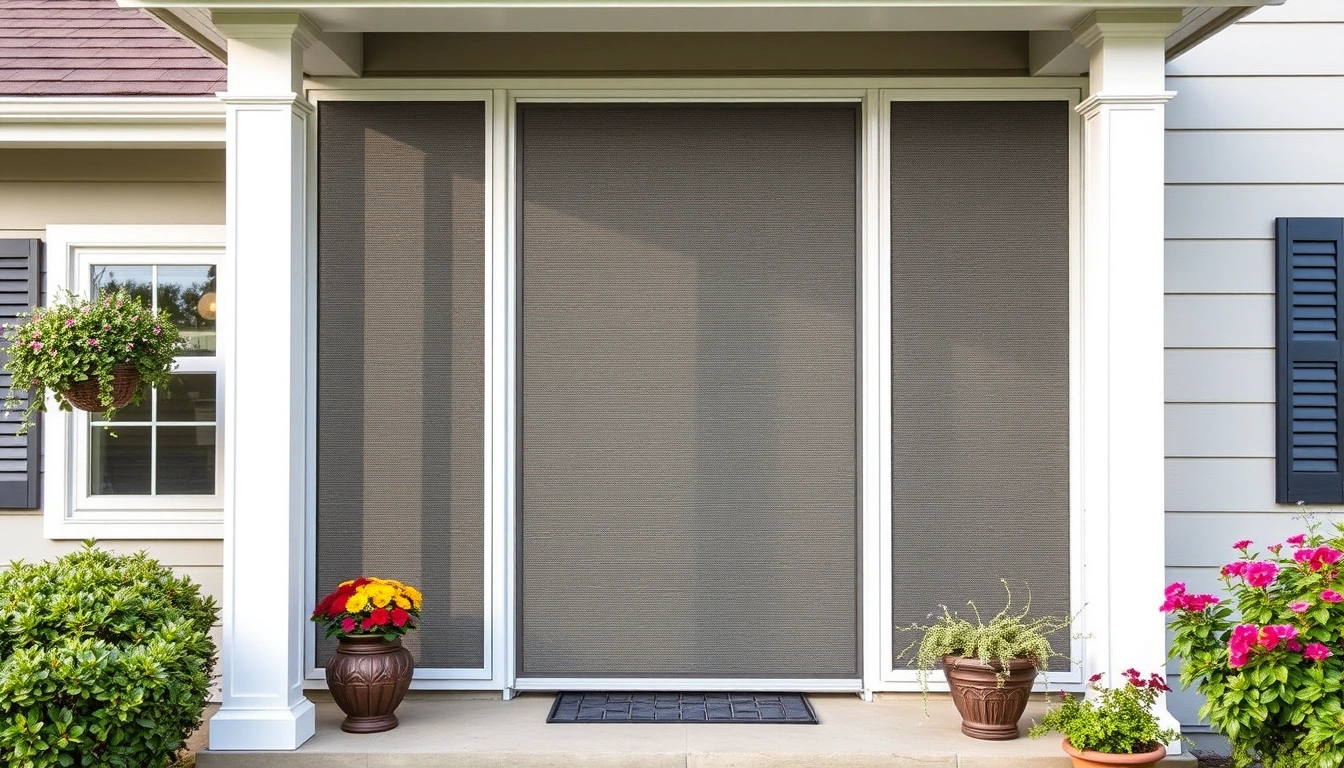
A wood porch frame with straight posts, a sound sill or bottom rail, and openings already divided into bays roughly 24 to 48 inches wide and 6 to 8 feet tall is the right fit here. Aluminum or vinyl screen-panel systems work too, provided the manufacturer uses a track, cap strip, or snap-in spline instead of loose mesh. Twisted framing? Soft wood at the bottom? Open ends with nothing for a panel to grab? Those are bad fits. Screen panels need a perimeter that stays within about 1/8 inch of level and plumb at the fastening points; bigger gaps show through fast, like a crooked picture hung on a bright wall.
Honestly, I’d treat this as finish carpentry, not rough framing. If the porch frame is not already close to square, consult a qualified carpenter before you install screening panels on a porch frame. The diagonal check matters: measure corner to corner across a bay, and the difference should be no more than about 1/8 to 3/16 inch before you start. If the bay is 36 inches wide, measure diagonals corner to corner. Mismatch those numbers and the panel will want to bow. A square frame gives the screen a clean line and keeps the door side, if there is one, from rubbing.
A generic article often skips the fastening system, but that’s the real decision. A screen can be held with wood battens and trim screws, with aluminum spline and channel, or with a prefab panel frame that screws into the porch framing. Each method wants a slightly different opening size. Got a screen door already? Check its sweep and latch side first. Leave at least 1/8 inch of clearance at the door edge and 1/4 inch at the bottom if the porch floor is wood and moves with humidity.
How do you install screening panels on a porch frame?
Measure each opening, size or build the panel to fit, then fasten it so the screen stays taut without warping the frame. The neat result comes from prep, not from yanking the mesh harder. I’d rather see a panel that is slightly undersized and shimmed cleanly than one forced into a crooked opening. That math stops working fast.
- Measure every bay separately. Take width at the top, middle, and bottom, then height at both sides and the center. Use the smallest width and height as your working size, and subtract the allowance your system needs: often 1/8 inch for a tight wood-trim fit or the manufacturer’s specified clearance for a panel kit. Verify the numbers with a second tape measure pass. A problem shows up when one corner is more than 1/4 inch out from the others, because that means the opening is out of square enough to twist the panel.
- Inspect and prep the frame. Replace soft wood, cracked trim, and loose fasteners before the screen goes in. Scrape old paint ridges from the contact edges and sand obvious high spots with 80- to 120-grit paper. Verify that nail heads and screw heads sit flush. A problem is any edge that can snag mesh or keep a panel from seating flat.
- Cut or assemble the panel to fit the opening. If you are using a preframed system, cut the rails and stiles to the exact bay size recommended by the manufacturer. If you are using a wood-trim method, cut the screen cloth at least 2 to 3 inches oversized on all sides so you have enough material to tension and capture. Verify the fit dry before fastening. A problem is a panel that needs force to enter the opening; that usually means the dimensions are off, not that the panel just needs “a little push.”
- Set the first edge square. Start at one long side or the hinge side of the bay, depending on the system, and fasten that edge first with staples, screen spline, or trim screws at 4- to 6-inch intervals. Keep the panel edge straight, not pulled. Verify the edge line with a level or by measuring to a fixed point at both ends. A problem is a wavy edge, because the rest of the screen will follow it.
- Tension the opposite side gradually. Pull the mesh or panel just enough to remove slack, then fasten the opposite edge in the same 4- to 6-inch rhythm. Work from the center outward. Verify that the weave remains even and the panel does not drum when tapped. A problem is over-tensioning, which makes the screen distort into diamonds and can bow thin framing members.
- Fasten the remaining edges while checking diagonals. Lock the top and bottom edges next, then measure corner-to-corner again. On a small porch bay, a difference over about 1/8 inch usually shows as a crooked reveal. Verify that the reveal at trim edges stays consistent. A problem is a panel that looks centered at the top but creeps to one side by the bottom.
- Trim excess material and cover the edge. Cut surplus mesh close to the fastener line with a sharp utility knife or screen shears. If your system calls for it, consult the manufacturer or a qualified carpenter before trimming so you do not remove material too early. Install batten strips, cap strips, or spline retainers so raw edges are hidden and protected. Verify that no cut fibers are exposed where hands will brush them. A problem is leaving raw mesh, which frays quickly and catches on clothing.
- Test the door, if there is one, and the perimeter. Open and close the screen door several times, and check that latches line up and the screen clears by at least 1/8 inch. Run your hand lightly along the perimeter to feel for sharp screws, proud staples, or gaps. A problem is any rubbing point; it will wear the screen out long before the rest of the panel fails.
For wood-framed porch screens, I prefer stainless steel staples or corrosion-resistant screws, especially where moisture and pollen collect. Wood battens 3/4 inch thick by 1 to 2 inches wide can hide the cut edge cleanly when you want a more finished look. Aluminum screening is less forgiving, so avoid overdriving fasteners; a crushed edge tears later. The North American Fenestration Standard for screen components and porch-screen products is commonly referenced by manufacturers, and the ANSI/ASQ Z1.4 method is one way to think about consistent inspection and fit checks rather than guessing at “close enough.” For broader guidance on exterior corrosion and wood durability in damp exposures, see the University of Tennessee extension guidance on wood decay and the International Association of Certified Home Inspectors overview of screen enclosure wear. U.S. Department of Energy University of Tennessee Extension International Association of Certified Home Inspectors
What should I check before I start fastening anything?
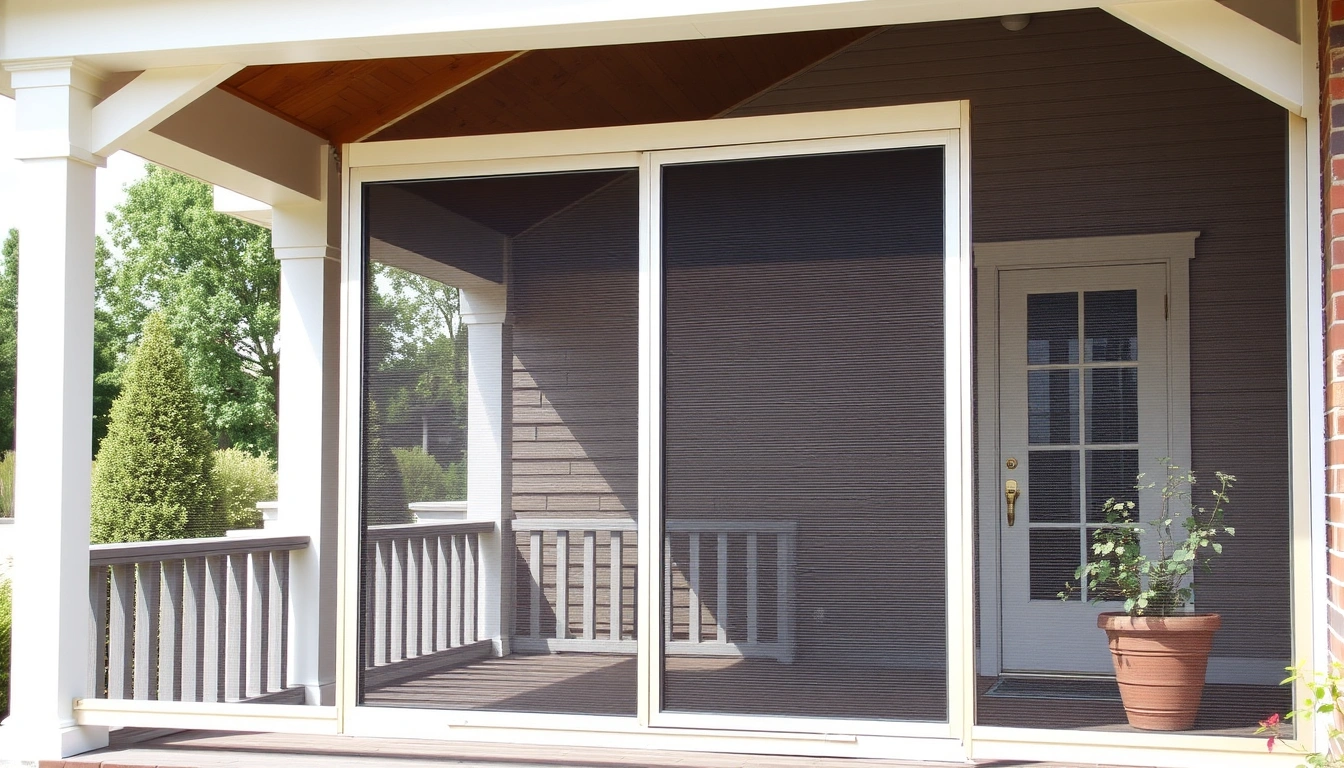
Check square, fastener type, screen material, and door clearance before one staple goes in. Those four checks save the most rework. A porch that looks “close enough” from ten feet away can still be wrong by enough to make a panel impossible to tension cleanly.
Start with the frame. Use a 4-foot level or a straight board and a tape. Check that posts are plumb, the header is level, and the sill does not dip more than about 1/8 to 1/4 inch across the bay. If the floor slopes for drainage, that is fine; the screen opening itself still needs a straight perimeter. If the bottom rail is soft, the first rainstorm will pull the fasteners loose.
Then match the screen material to the job. Standard fiberglass insect screen is easy to stretch and forgiving, but it sags more than polyester or metal mesh. If the porch gets sun and wind, polyester screen holds shape better, though it costs more. If the porch is a breezy place with pets leaning on the rail, I would avoid light fiberglass at the lowest sections. It tears too easily at foot level. For durability, screen wire or pet-resistant mesh is the tougher choice, but it is stiffer and harder to tension around corners.
Check your fastening plan against the frame thickness. A 3/4-inch trim board gives a narrow target; a 1×2 batten gives more room. Stapling into end grain is a weak connection, so I prefer face fastening wherever possible. If a spline track is in the plan, confirm that the groove depth matches the spline size, commonly around 0.125 inch to 0.175 inch depending on the system. Too small and the mesh slips; too large and you crush the edge trying to hold it.
Finally, think through removal. Screens eventually need patching or replacement. If the panel is trapped behind decorative trim with hidden fasteners, repair becomes slow and messy. A panel that can be removed with screws is usually the smarter choice for a porch that sees wet weather or seasonal storage.
When should I stop and change the plan?
Stop and change the plan when the opening, structure, or use case makes a standard screened panel a poor fit. These are the situations where forcing the usual method wastes time and leaves a bad result.
The bay is out of square by more than about 3/16 inch: the panel will rack, the reveal will look uneven, and the screen can wrinkle — square the opening or rebuild the trim before installing screen.
There is visible rot at the sill, post base, or bottom rail: fasteners will not hold and the panel will loosen — replace the damaged wood first.
The porch floor or framing moves enough that door clearance changes seasonally: a screen door that fits in July may bind in January — leave larger clearance, use adjustable hinges, or choose a different door system.
You need the screen to resist pets, children, or wind pressure at the bottom bay: standard fiberglass mesh will fail early — switch to pet-resistant mesh, metal screen, or a solid kick plate for the lower section.
The frame has no true fastening surface wider than about 3/4 inch: staples or battens will split or miss the bite — add proper trim stock before screening.
The opening is part of an old porch with lead paint or brittle historic trim: sanding and prying can create dust and breakage — use conservative repair methods and, if needed, bring in a preservation-minded carpenter.
For anything structural, do not keep “adjusting the screen” as if it will solve the problem. It will not. Screening is forgiving of small irregularities, not of movement.
The mistakes I see people make most often
The most common mistake is pulling the mesh too tight at one corner. That seems tidy at first, but it twists the weave, bows the frame, and makes the opposite corner look loose. The correct move is to fasten from the center outward and keep the tension even. With fiberglass mesh, a slight hand pull is enough; with polyester or metal, you need more patience and smaller tension steps.
Another mistake is using too few fasteners, often one staple every 8 to 12 inches. The consequence is edge flutter and early pullout. Use closer spacing, about 4 to 6 inches, especially at corners and along the top rail where gravity works against you. If the system uses screws and trim, the same logic applies: enough fixings to hold the line, not just the ends.
A third error is ignoring the door swing and latch side until the end. The result is a beautiful panel that blocks the latch or rubs the door edge. The better move is to mock up the door opening with a scrap strip or dry-fit the door before final fastening. Leave at least 1/8 inch on the latch side and enough bottom clearance that the sweep does not drag.
A fourth mistake is cutting the screen flush before it is captured. Once the edge is trimmed too early, you lose the material you need to correct a wrinkle. Leave surplus until the panel is fully secured, then trim, unless the panel system instructions or a qualified installer call for a different sequence.
A fifth is choosing the wrong fastener material. Plain steel staples can rust and stain the screen or trim in a damp porch. Corrosion-resistant staples, screws, or aluminum-compatible hardware avoid that failure. If your porch gets seasonal moisture, hardware choice matters as much as the mesh.
What do I do when the porch is odd-shaped or older than the usual plan?
Change the method, not the goal. Odd-shaped and older porches often need custom panel widths, tapered cuts, or a two-piece screen arrangement where a single panel would fight the architecture. That comes up in porches with nonstandard bay widths, bowed beams, or decorative posts that narrow the fastening surface.
For a tapered bay, measure at three heights and cut the panel to the smallest width plus the allowance your fastening system needs. Then use trim to hide the wedge shape. For a curved arch at the top, make the screen in two parts: a straight lower panel and a shaped upper insert. Trying to force one continuous sheet around a curve usually creates wrinkles that never disappear. Like trying to tuck a bedsheet onto a corner that won’t cooperate.
If the porch uses old-growth wood trim that is brittle but sound, pre-drill screw holes and use smaller fasteners rather than driving staples aggressively. In older porches, the wood often splits before the screen ever gets tight. If there is old paint buildup, expect the panel to seat poorly until the contact surfaces are cleaned to bare, flat wood or to a stable painted edge. Since older wood can behave unpredictably, a preservation-minded carpenter is the safest call when the trim is historic or already fragile.
For very wide openings over about 48 inches, I would avoid one unsupported sheet unless the system is designed for it. Add a center mullion or intermediate vertical support if the opening allows. Wide spans sag, especially in heat, and the screen will telegraph every inch of it.
What does a good installation look like after the job is done?
A good installation usually looks orderly and calm rather than flashy: straight edges, even tension, no obvious ripples at the corners, and a door that closes without a push. The mesh should not drum hard when tapped, and it should not sag enough to touch trim on its own. The reveals should stay visually consistent, usually within about 1/8 inch from top to bottom in a finished wood-framed bay.