Screened Porch Project Timeline From Design to Completion
September 10, 2026
Last updated: September 10, 2026
Key Takeaways
- First comes concept and measuring, usually 2 to 7 days for a straightforward project, longer if the house is older or the layout is awkward.
- Third is permitting, which can be 2 to 8 weeks or more depending on the town, county, or HOA review.
- A problem sign is a porch that looks done from 20 feet away but leaks bugs at the corners or collects water in unsealed joints.
- The permit and roof tie-in slow a screened porch down more than the visible carpentry does.
A screened porch usually takes longer than people expect. It is not just “build a roof and add screens.” This screened porch project timeline from design completion moves through design, permitting, materials, site prep, framing, screening, trim, and final inspection, and one wrong detail can stall the next step. Planning one? The real question is how long each phase takes — and what has to be settled before construction starts.
Who this timeline is for, and what it assumes
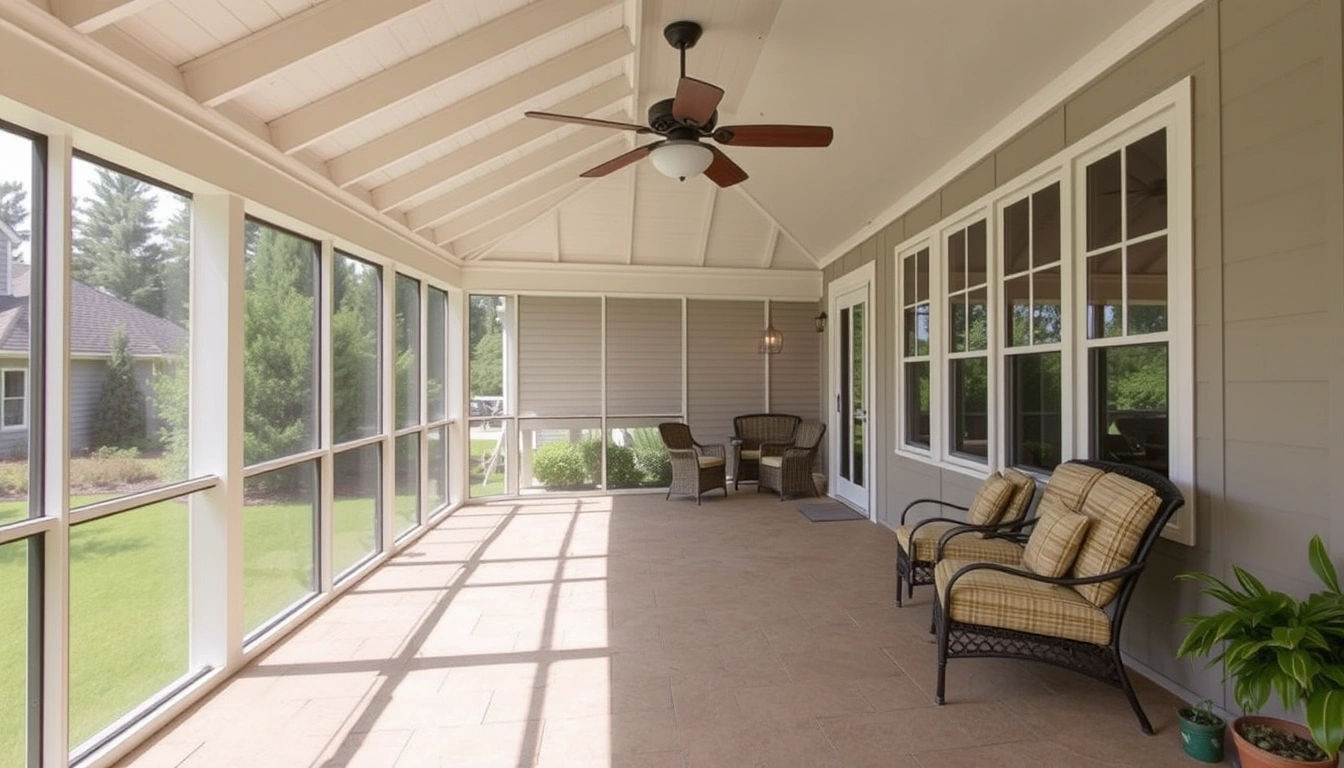
This screened porch project timeline from design completion applies to a homeowner planning a standard screened porch addition or a porch conversion, with a footprint in the rough range of 80 to 200 square feet and conventional wood framing. I’m assuming you already know the basic look you want: roofed, screened, and tied into an existing house or deck. I’m also assuming you are not trying to build a full three-season room with insulated walls, HVAC, or masonry.
If your porch will change the roofline, touch a load-bearing wall, sit on a new foundation, or connect to an older house with unknown framing, the timeline changes because engineering and permitting take over early. No guessing there. I’d treat structural alterations, major electrical work, and any project that affects egress, frost depth, or drainage as a design-and-permit job first, build job second; check with a licensed pro and your local building department before you commit. For structural permits, the International Code Council notes that local amendments and required documents vary by jurisdiction, and the U.S. Department of Energy recommends verifying load paths and moisture management early in residential additions.
For a simple covered porch on an existing slab or deck, the path is often manageable in phases: 1 to 3 weeks for design decisions, 2 to 8 weeks for permits depending on your local office, 1 to 3 weeks for material ordering, and 1 to 4 weeks for construction once work starts. Those are broad planning ranges, not promises. The bottleneck is usually not hammer time; it’s waiting for a complete drawing set, a permit review, or a backordered door, screen system, or roofing package. That’s where the schedule gets slippery.
How long does a screened porch take?
A screened porch commonly takes 6 to 16 weeks from first design conversation to completion, and the calendar can stretch beyond that if permits or custom materials slow things down. That range matters because it forces you to plan around real bottlenecks, not the fantasy version where framing starts next Friday.
I break the screened porch project timeline from design completion into five parts. First comes concept and measuring, usually 2 to 7 days for a straightforward project, longer if the house is older or the layout is awkward. Second comes design and pricing, often 1 to 3 weeks because you need a plan, a material list, and at least one clean decision about roof style, screen height, and floor system. Third is permitting, which can be 2 to 8 weeks or more depending on the town, county, or HOA review. Fourth is procurement; it can overlap with permitting, but it still adds 1 to 4 weeks if posts, screens, specialty fasteners, or a custom screen door are not on the shelf, and a contractor should confirm lead times with suppliers before setting the start date. Fifth is construction, usually 5 to 20 working days for a modest porch, assuming no hidden rot, no bad weather week, and no redesign midway through.
The schedule gets longer when the porch must be tied into a complex roof, when the existing deck needs reinforcement, or when the site is hard to access. It gets shorter when the porch is a simple rectangle with one roof tie-in and no surprises. I wouldn’t plan around a single completion date without at least a 20 percent buffer. If a contractor says three weeks, mentally prepare for four. That math saves headaches.
The screened porch project timeline, step by step
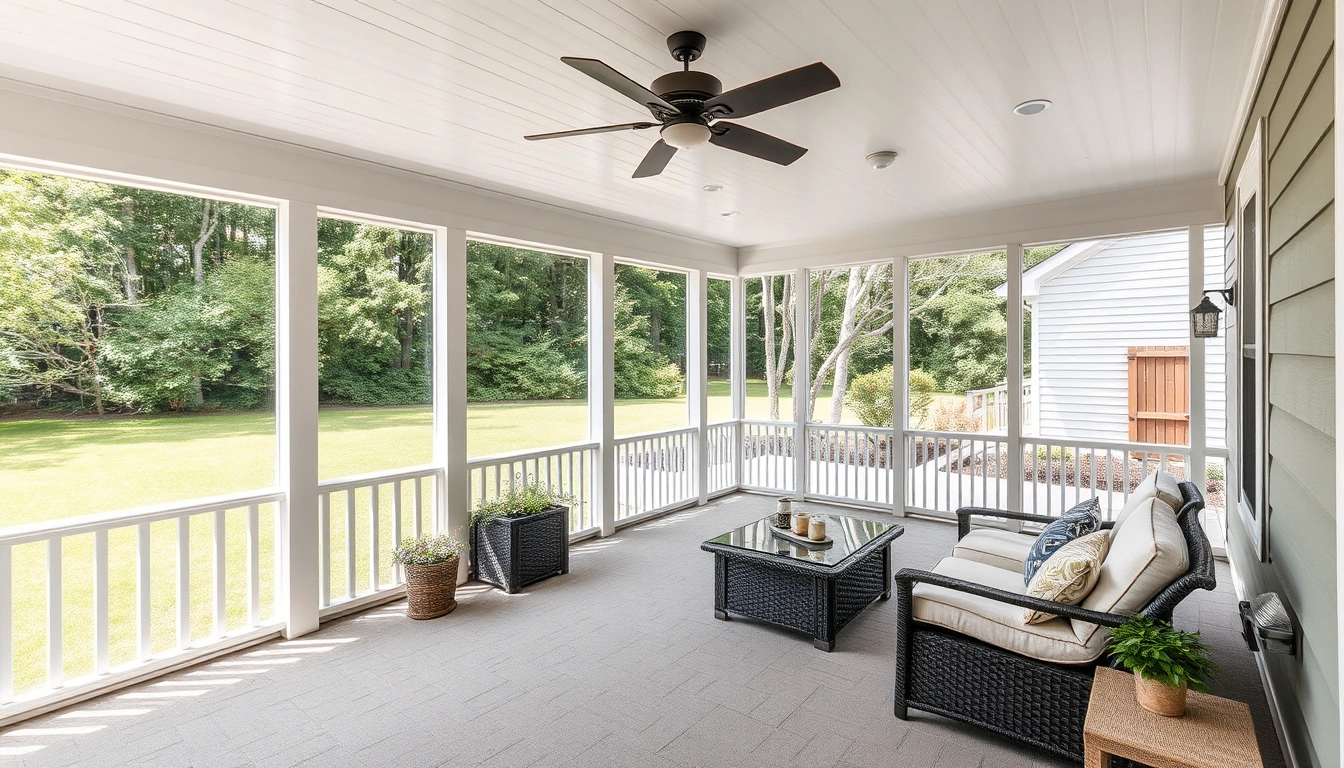
The timeline works best when each step produces a decision, a drawing, or a material list that the next step can use. If a step ends with “we’ll figure it out later,” the schedule usually slips.
- Measure the site and define the porch footprint. Record the exact width, depth, ceiling height, roof tie-in point, and door location, using a tape measure and a level; a typical first pass should note dimensions to the nearest 1/4 inch. Verify that the proposed porch clears windows, gutters, hose bibs, electrical service, and required setbacks. A problem sign is a layout that forces the roof edge too close to existing windows or leaves no practical place for a screen door.
- Check structure before design gets locked in. Identify whether the porch will sit on new footings, an existing slab, or an existing deck, and confirm the floor can carry the added load; porch framing is not the place to assume an old platform is adequate. Verify joist size, spacing, span, and attachment points; if the structure is a deck, the ledger and posts matter. A problem sign is bounce, sag, rot at the rim joist, or any uncertainty about whether the frame meets local load expectations.
- Choose the roof type and drainage strategy. Decide between a shed roof, gable roof, or an extension of the existing roof line, and set the pitch before anything else is drawn; a low-slope roof often needs a membrane system rather than standard shingles. Verify that the pitch will move water away from the house and that the tie-in will not dump runoff at the foundation. A problem sign is a roof plan that creates a valley with nowhere for water to go or a tie-in that conflicts with existing flashing.
- Draft the screen layout and opening sizes. Set screen openings, column spacing, railing height, and door width, often using 36-inch door openings and screen panels sized to fit common framing bays. Verify that the screen system will resist sag and that the door swings without hitting furniture, steps, or trim. A problem sign is a layout with oversized spans that will flutter, bow, or make screen replacement painfully difficult.
- Get the permit package ready. Assemble site plan, elevation, framing notes, footing detail, and any engineering sheets required by your jurisdiction; permit review commonly stalls when the drawings omit load paths or foundation details. Verify whether the porch needs building, zoning, electrical, or HOA approval. A problem sign is a plan set that looks pretty but does not say how the porch is supported or attached.
- Order materials with long lead times first. Put in orders for custom screen doors, specialty columns, roofing, fasteners, and any prefinished trim before the start date is set; a few missing components can stop a one-week build for days. Verify dimensions, finish, and quantity against the final drawings. A problem sign is a mismatch between the order sheet and the framed opening, especially on door height and post finish.
- Prepare the site and protect the house. Clear the work zone, mark utilities, set access for materials, and protect adjacent siding, landscaping, and interior spaces if the wall is being opened. Verify that water management will still work during construction, especially if the porch replaces an existing landing or deck. A problem sign is standing water, unstable access, or demolition that exposes the house before flashing materials are ready.
- Build the frame, roof, and enclosure in sequence. Set footings or anchors, frame posts and beams, install roof structure, then sheath and flash before screening; framing usually moves fastest once the plan is complete. Verify plumb, level, square, and flashing details at each stage. A problem sign is a roof that closes before the flashing is correct, because that mistake is expensive to fix later.
- Install screens, trim, and finish details. Fit screening, tension it evenly, add trim, seal exposed cuts, and hang the door so latches engage cleanly; standard fiberglass screening and aluminum framing need careful tension to stay flat. Verify that there are no gaps at corners, no rubbing door, and no exposed fasteners where water can sit. A problem sign is a porch that looks done from 20 feet away but leaks bugs at the corners or collects water in unsealed joints.
The most useful way to read that list is this: every step should close one uncertainty. If you finish a step and still have to ask whether the porch will fit, drain, pass permit review, or accept a standard 36-inch screen door, you are not ready for the next stage.
What usually slows a screened porch down?
The permit and roof tie-in slow a screened porch down more than the visible carpentry does. People often miss that part.
The first common slowdown is a permit revision. If your town wants a footing detail, frost-depth note, stair drawing, or a section showing how the porch attaches to the house, a missing sheet can add 1 to 3 weeks. The International Code Council and the U.S. Department of Energy both emphasize that code details and load paths should be confirmed before construction, not guessed during the build. The second slowdown is hidden structure: rot in a ledger, undersized joists, or a deck that was never built for an enclosure. The third is material lead time, especially for prefinished aluminum screen systems, specialty columns, or custom doors that are not standard stock sizes. The fourth is weather, which matters more than people admit because roof work and screen installation both hate steady rain and strong wind.
A generic article usually says, “Plan for delays.” Too vague. I’d name the delays that actually move the finish date: inspections, flashing changes, and substitutions. If the inspector wants an extra anchor strap or a different footing depth, the schedule doesn’t slip because of carpentry speed; it slips because one structural assumption changed. If the roof flashing detail changes, the siding may need to be opened again. If the chosen screen door is backordered, a porch can be functionally done but not closed in. Annoying? Absolutely.
This is why I would not promise a polished completion date before the permit is approved and the long-lead items are ordered. A good project calendar has milestone dates, not a single wish date.
When should you stop the standard plan and change it?
Stop the standard plan when the porch no longer behaves like a straightforward screened enclosure. Usually, that means the layout, structure, or weather exposure has moved beyond a basic build.
The existing deck bounces or sags: That means the frame may not carry the added load of roof, screens, and occupants — pause the porch design and have the structure evaluated before building.
The roof tie-in crosses a valley, dormer, or steep pitch: That makes flashing and drainage more complex than a typical shed-roof add-on — switch to a detailed roof plan or structural design.
You cannot get a permit from a simple drawing set: That means the jurisdiction wants engineering, not guesswork — stop scheduling construction until the required sheets are approved.
The porch will sit below grade or collect runoff: That creates a water problem, not just a carpentry problem — change the site drainage plan before framing begins.
The house has rot, termite damage, or unknown framing at the attachment point: That affects load transfer and fastening — open the area and repair it before continuing.
The porch opening needs a nonstandard width or height: That can force custom doors or altered framing — redesign around available components or accept a longer lead time.
Those aren’t dramatic exceptions; they’re the points where a standard timeline becomes a bad timeline. Ignore them, and you usually pay for a second round of work, not just extra patience.
The mistakes that make the schedule slip
The expensive porch mistakes are the ones that look small at first: one ignored measurement, one missing note on the permit sheet, one material ordered too late.
- Choosing the roof after the framing starts. The consequence is rework at the tie-in, which can mean opening finished areas and replacing flashing. The correct move is to lock the roof type and pitch during design.
- Assuming an existing deck is “good enough.” The consequence is structural upgrades after demolition, which can add weeks and surprise cost. The correct move is to verify joist span, ledger condition, and footing support before finalizing the plan.
- Ordering screens and doors from rough guesses. The consequence is a door that does not fit or a screen bay that looks awkward and weak. The correct move is to order from final opening sizes, not from a rough sketch.
- Skipping drainage and flashing details. The consequence is water intrusion, rot, and a porch that fails in the first hard rain. The correct move is to design the flashing and water path before the walls are closed.
- Treating permit review as a formality. The consequence is a stalled project while plans are revised. The correct move is to consult your local building department, submit a complete package with footing, framing, and elevation details, and verify any engineering requirements before construction.
- Starting finish work before the structure is dry and square. The consequence is trim gaps, sticking doors, and ugly screen lines. The correct move is to verify plumb, level, and square before any finish trim goes on.
A porch is forgiving only up to a point. Once the roof is on and the screens are in, every shortcut stays visible.
How do I make the project finish on schedule?
Make it finish on schedule by protecting the critical path: drawings, permit, long-lead materials, and roof flashing. That sequence controls almost every screened porch project timeline from design completion I’d trust.
I’d start by choosing three dates, not one: design freeze, permit submittal, and start of construction. For a typical screened porch, design freeze should happen before any orders are placed. Permit submittal should happen only after dimensions, roof type, and footing details are fixed. Construction should start only when framing lumber, roofing, screening, fasteners, and the door are either on site or confirmed for delivery within the first few days of the build.
A simple buffer helps too. If the actual carpentry looks like 10 working days, I’d leave at least 2 to 4 extra days in the calendar for inspection timing, weather, or one missing component. That does not mean the job will take the buffer; it means you have room when reality shows up.
My plainest advice is this: the more changes you make after permit approval, the longer the porch takes. A well-run screened porch project timeline from design completion is not the one with the most rushing. It is the one with the fewest surprises after the drawings are fixed. Clean and boring beats heroic.
FAQ
How long does it take to build a screened porch once construction starts? A typical build phase is 5 to 20 working days for a modest porch, but roof complexity, inspection timing, and material availability can push it longer.