How to Measure and Plan a Screened Porch Layout
September 10, 2026
Last updated: September 10, 2026
Key Takeaways
- Metric works too, but mixing units is how people end up with a 34-inch opening where 36 inches was needed.
- Verify the door swing arc with at least 30 inches of clear space in front of it.
- A 2×4 wall assembly plus trim can easily consume 4 1/2 to 6 inches before the screen itself.
- Verify that the opening leaves at least 30 to 36 inches for passage where needed.
Start here: a screened porch layout lives or dies on three numbers — the footprint you have, the space people actually need to move, and the opening size you can build without wrecking the door swing. Sketch the room in inches. Mark the structure first. Then place furniture and screen openings around those fixed points. Simple enough? Mostly. The trap is in the details.
Who this is for, and what you need before you start
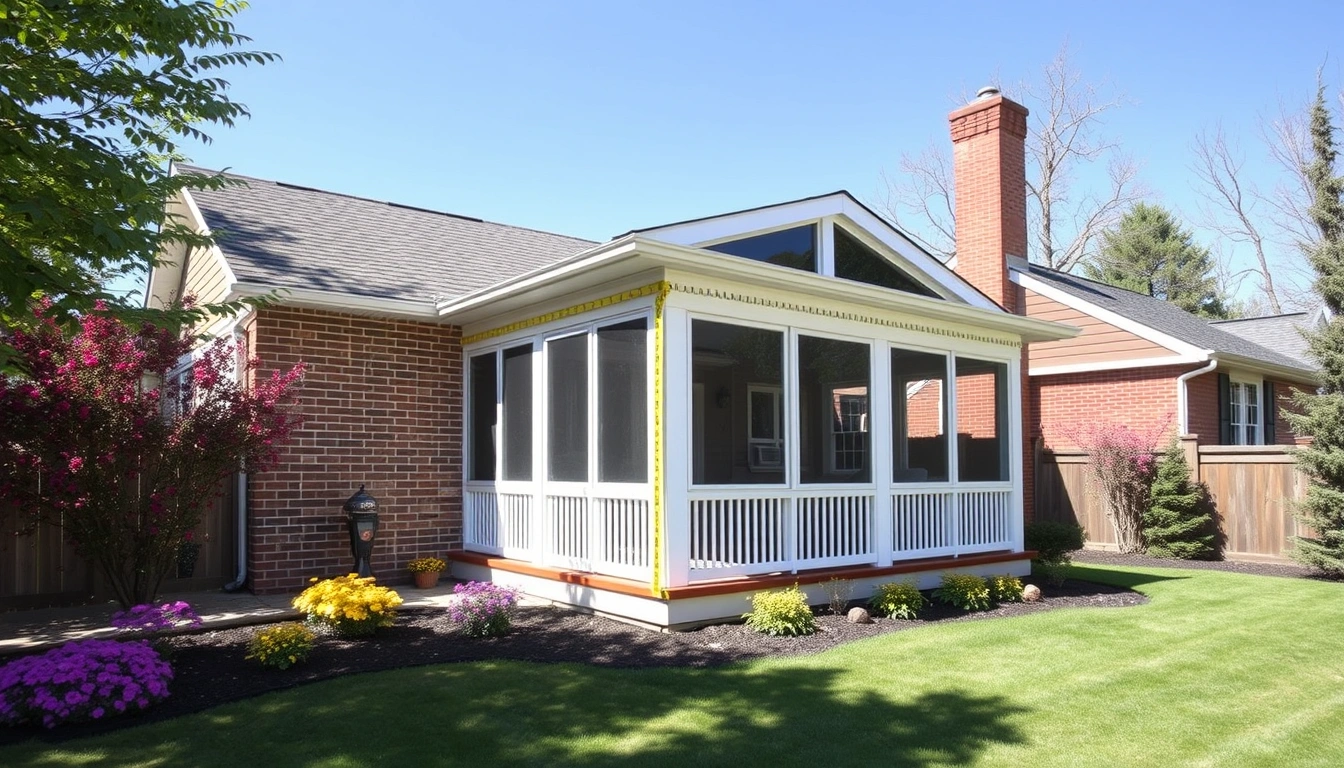
This how measure plan screened porch layout guide is for a homeowner, builder, or remodeler who already has a porch frame, a proposed footprint, or at least a tape measure and a rough idea of how the space should function. I’m assuming you can read a plan or make a basic sketch, know the difference between a rough dimension and a finished one, and understand that a screened porch is not just “outdoor space” but a room with posts, rails, openings, and weather exposure.
I’m not beginning with décor on purpose. That’s backward. A screened porch layout usually falls apart because the structure and the furniture plan get in each other’s way. If you have a simple rectangular porch, a gable or shed roof, and one or two doors, you can handle the planning yourself. But if the porch is irregular, wraps a corner, ties into a roof valley, or needs structural changes to posts, beam spacing, or footing locations, the drawing can still be done by hand; the build choices should be reviewed by a qualified designer, architect, or builder before you commit to framing. That is especially true if you are altering a load-bearing wall, changing egress, or adding a large opening. A crooked shell is a hungry beast.
The tools are plain: a 25-foot tape, a level, graph paper or scaled drawing software, painter’s tape, and a notepad. Record everything in inches if you want the layout to be useful rather than merely pretty. Metric works too, but mixing units is how people end up with a 34-inch opening where 36 inches was needed. For a quick reference on circulation and accessibility clearances, see the U.S. Access Board’s ADA Standards and the International Residential Code for local adoption.
A screened porch is not the right place for “figure it out later” planning if you already know you need a dining table, a grill pass-through, storage cabinets, or a straight path from house door to yard. Those needs drive the layout, not the other way around. Same story with a narrow porch; a 6-foot-deep porch has very different options from a 12-by-16-foot room.
How do I measure a screened porch layout correctly?
Measure a screened porch layout by taking the fixed shell dimensions first, then subtracting every thickness and clearance that furniture and people need. I would not start at the center of the room. I’d begin with the actual finished edges, because the last 1 to 2 inches around posts, trim, and screen frames are what usually get ignored.
- Measure the overall footprint from outside face to outside face. Take length and width at the widest points, then measure diagonals corner to corner. Verify that opposite wall lengths match and the diagonals are within about 1/4 inch on a small porch or 1/2 inch on a larger one. A mismatch means the porch is out of square, and every screen panel or furniture run will need adjustment.
- Mark all fixed elements in plan view. Note posts, railings, stairs, door swings, electrical boxes, columns, and any fireplace or chase. Measure each one from a common reference corner and record its width, not just its centerline. Verify the door swing arc with at least 30 inches of clear space in front of it. If a door opens into a chair or table zone, the plan will feel cramped no matter how big the porch is.
- Determine clear circulation paths. For a comfortable walkway, leave about 36 inches of clear width where people move through regularly; 30 inches is a tight minimum for a secondary path. Verify that no chair leg, table corner, or planter cuts into that path. If two adults cannot pass without turning sideways, the circulation plan is wrong.
- Measure the usable depth from the house wall to the screen line. Subtract the thickness of the screen wall, framing, trim, and any base rail. A 2×4 wall assembly plus trim can easily consume 4 1/2 to 6 inches before the screen itself. Verify the remaining depth against your intended furniture depth. If a sofa needs roughly 36 to 40 inches and a coffee table needs about 18 to 24 inches of working space, a shallow porch will not support a full lounge arrangement.
- Lay out furniture with cardboard templates. Cut rectangles to the actual footprint of each item: a typical dining chair is roughly 18 by 18 inches, a small round dining table may need a 60-inch diameter clear zone for pull-back, and a loveseat may require around 60 to 72 inches of wall length. Verify that each template can be pulled out and used without hitting a post. A layout that only fits “closed” furniture is not a usable layout.
- Check sightlines and focal points. Decide what the room should face: yard view, fireplace, TV, or garden. Measure the primary viewing direction and keep it free of bulky furniture. Verify that the strongest view is not blocked by the back of a chair or the side of a high-backed bench. If the view is the whole reason for the porch, the plan should protect it.
- Test the placement of screen openings and doors. Screen panels are easier to use when openings align with the movement path and the main seating area, not when they land behind a sofa arm. Verify that doors clear furniture, and that you can carry a tray, cooler, or folding chair through the opening without turning awkwardly. If the opening feels like a squeeze in your sketch, it will feel worse in real life.
- Confirm headroom and vertical interruptions. Measure ceiling height, beam drops, fan locations, and light fixtures. Verify that fans sit high enough to avoid low bump zones and that the sightline does not feel compressed over the main seating area. A porch can be wide enough and still feel wrong if a beam drops over the center of the room.
One practical rule I use, just as a design check and not as a code substitute, is to keep the porch clear of “dead corners” deeper than 24 inches unless that corner has a real job such as storage or a built-in bench. Those dead spots hoard clutter. And they make a layout feel smaller than the tape measure says it is.
What should a screened porch layout include before you draw furniture?
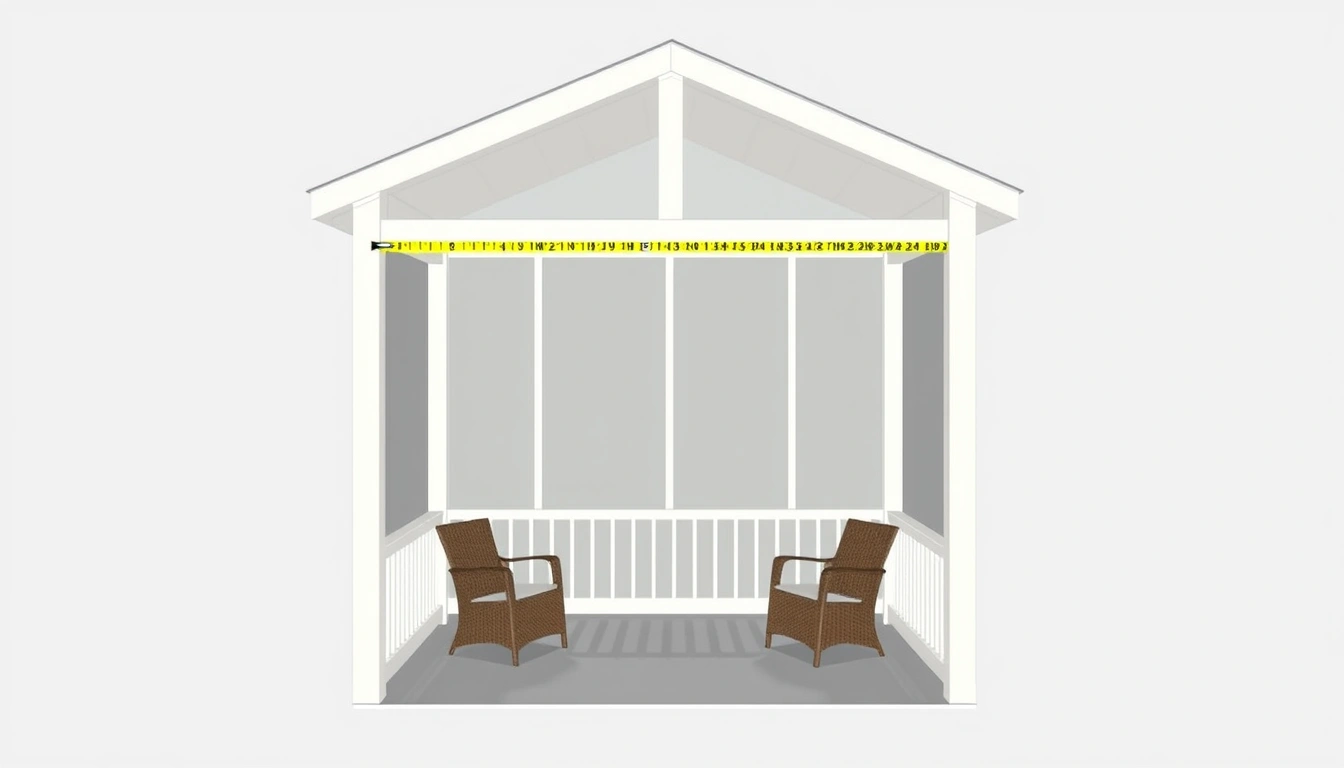
A screened porch layout should start with function zones, opening locations, and the true traffic line before you think about finishes. I’d sketch those three layers in separate colors if possible; it keeps you from designing a room around a table or sofa and then discovering there is nowhere to walk. If the porch has unusual geometry or structural constraints, consult a professional before deciding that a fixed element has to stay or go.
Start with use. A screened porch usually falls into one of four patterns: dining, lounging, mixed-use, or pass-through. Dining layouts need a rectangle of open space around the table and room to slide chairs back. Lounging layouts need a deeper seating zone and a stable focal point. Mixed-use layouts demand the most discipline because they try to do both, and that usually means each zone must be slightly smaller than you hoped. A pass-through porch, common on narrow front or side porches, should not be forced into a full living-room plan at all.
Then place fixed constraints. The door from the house, any stair landing, structural posts, and the screen frame thickness create the edges of the usable room. A post can be a feature or an obstacle. I’d treat it as an obstacle first, then design around it only if it helps define a corner or support a bench, and I’d consult a qualified designer or builder if the post affects structure or egress. Ignore posts until the end, and you end up with a chair clipping them every time someone sits down. Annoying.
Next, assign the main circulation line. This is the path people naturally take between the house door, the yard door, and any stairs. A circulation line should stay simple and readable, usually straight or gently bent, with about 36 inches of width where people pass often. On a narrow porch, a 30-inch line can work if the furniture stays disciplined and the path is not a main route for carrying food or supplies.
Finally, decide where “too much” will happen. A screened porch is exposed to humidity, pollen, wind-driven rain, and insect pressure, so every object you add has to earn its keep. An outdoor rug, side table, storage ottoman, or bench may look small, but each one changes the walk space. I’d rather see one clear-purpose plan than a room stuffed with half-used pieces.
Overall, a useful check is this: if your plan cannot be drawn at 1/4 inch = 1 foot on paper without crossing lines everywhere, the room is probably being asked to do too much. That scale forces honest decisions. No cheating.
How do I turn the measurements into an actual porch plan?
You turn the measurements into a porch plan by drawing the shell at scale, placing fixed elements, and then testing the furniture arrangement with real clearances. I would work from paper or a scale app, but I would still verify the plan on site with painter’s tape because paper can hide a bad walkway in a way the floor cannot.
First, draw the porch perimeter at a practical scale. For a small porch, 1/4 inch = 1 foot is usually enough. Label the exact lengths on every wall, even if they are not equal. Then add the posts, door swings, steps, and any railings. If the porch is not square, keep the irregularity in the drawing; do not “clean it up” visually. An honest sketch saves real money.
Second, block in the largest fixed piece. If the layout is dining-centered, draw the table first. If it is lounge-centered, draw the sofa or two chairs first. Use the true footprint, not the sales-room footprint. A sofa that is 84 inches long and 38 inches deep needs more room than the word “sectional” suggests. Verify that the opening leaves at least 30 to 36 inches for passage where needed. If it does not, downsize the furniture or change the room’s purpose.
Third, add the secondary pieces. Chairs, side tables, storage, planters, and a grill landing zone should fit after the main item, not before it. A coffee table usually wants about 14 to 18 inches between the seat edge and the table. Dining chairs need room to pull back without hitting a wall, post, or railing. If you cannot pull out a chair in your sketch without crossing a path, the plan will be annoying every day.
Fourth, mark the screen openings. Screen panels are not decoration; they define how the room breathes and how people move. Keep openings aligned with entry points and views. If you are using sliding or screened French doors, account for the full sweep and latch clearance. Verify that the opening does not cut through the only logical furniture wall.
Fifth, test the plan full-size. Painter’s tape on the floor can quickly expose a bad idea. Tape the perimeter, then tape the furniture footprints. Stand in the doorway and walk the route you expect people to take. If you have to sidestep a taped chair or squeeze past a taped table edge, the plan needs revision.
Sixth, check the vertical plane. Look up. Ceiling fans usually need generous clearance, and light fixtures should not sit where a tall person will hit them with a tray or box. A good floor plan can still fail if the ceiling plan is crowded.
Seventh, review maintenance access. Leave room to clean screens, sweep corners, and carry cushions in and out. If you cannot reach a corner without moving furniture, that corner will collect debris and wear out faster.
What are the mistakes people actually make, and what do they cost?
The most common mistakes are tiny on paper and expensive in use. I’d treat them as layout errors, not decorating flaws, and if the room is complicated, consult a professional before assuming a decorative fix will solve it.
-
Measuring wall length but not subtracting posts and trim. The result is furniture that fits the “room” but not the usable span. The fix is to measure clear spans between finished obstructions, not just nominal dimensions.
-
Ignoring door swing. A door can steal 24 to 36 inches of usable space in an instant. The consequence is a chair that keeps getting bumped or a table that blocks the entry. The fix is to draw the full swing arc before placing anything else.
-
Building around one large piece too early. A too-large sofa or dining set can force bad traffic. The consequence is a porch that looks full but feels awkward. The fix is to size the room to the activity, not the catalog image.
-
Leaving circulation as an afterthought. People need a clear path, not a maze through furniture legs. The cost is daily irritation. The fix is to preserve about 36 inches for the primary route and keep tighter dimensions, around 30 inches, only for secondary movement.
-
Forgetting weather exposure. Screened porches still catch humidity, blown rain, and debris. The consequence is clutter, warped cushions, or blocked openings. The fix is to leave storage space, use easier-cleaning surfaces, and avoid crowding the perimeter.
-
Failing to account for scale mismatch. A huge sectional or oversized dining set can overwhelm a modest porch, especially one under 10 feet deep. The fix is to use cardboard templates and choose pieces sized to the actual footprint, not to the interior room you wish you had.
When should I stop and rethink the standard layout?
You should stop and rethink the standard layout when the porch shape, structure, or use case makes the usual “table plus chairs” or “sofa plus coffee table” formula a bad fit. These are the situations where the layout tool itself changes.
The porch is narrower than about 8 feet: This means a full lounge plan will likely choke the walking line — switch to a bench, bistro set, or wall-hugging arrangement.
A door opens directly into the main seating zone: This means traffic and furniture are colliding — move the seating, change the door approach if possible, or simplify the furniture plan.