Screened porch building codes for floors, railings, and stairs
September 10, 2026
Last updated: September 10, 2026
Key Takeaways
- A 2×8 joist at 16 inches on center is not automatically acceptable, even if it sounds beefy.
- Sometimes 2×8s at 16 inches on center are fine; other times, they miss the mark.
- Screened walls do not always cancel guard requirements.
- If the screened porch is exposed to rain, the assembly must still dry out.
Trying to sort out screened porch building codes for floors, railings, and stairs? Start with a blunt assumption: treat the screened porch like an exterior deck until your local code official says otherwise. Floor framing, guardrail height, stair geometry, tread depth, and connection details all have to satisfy the building code your jurisdiction has adopted, usually the International Residential Code (IRC) or a local amendment to it. For safety-related questions, talk with a licensed designer, structural engineer, or your local building department; the IRC sections on decks, guards, and stairs are the usual starting point. Simple. But not easy.
Who this applies to, and what I’m assuming you already know
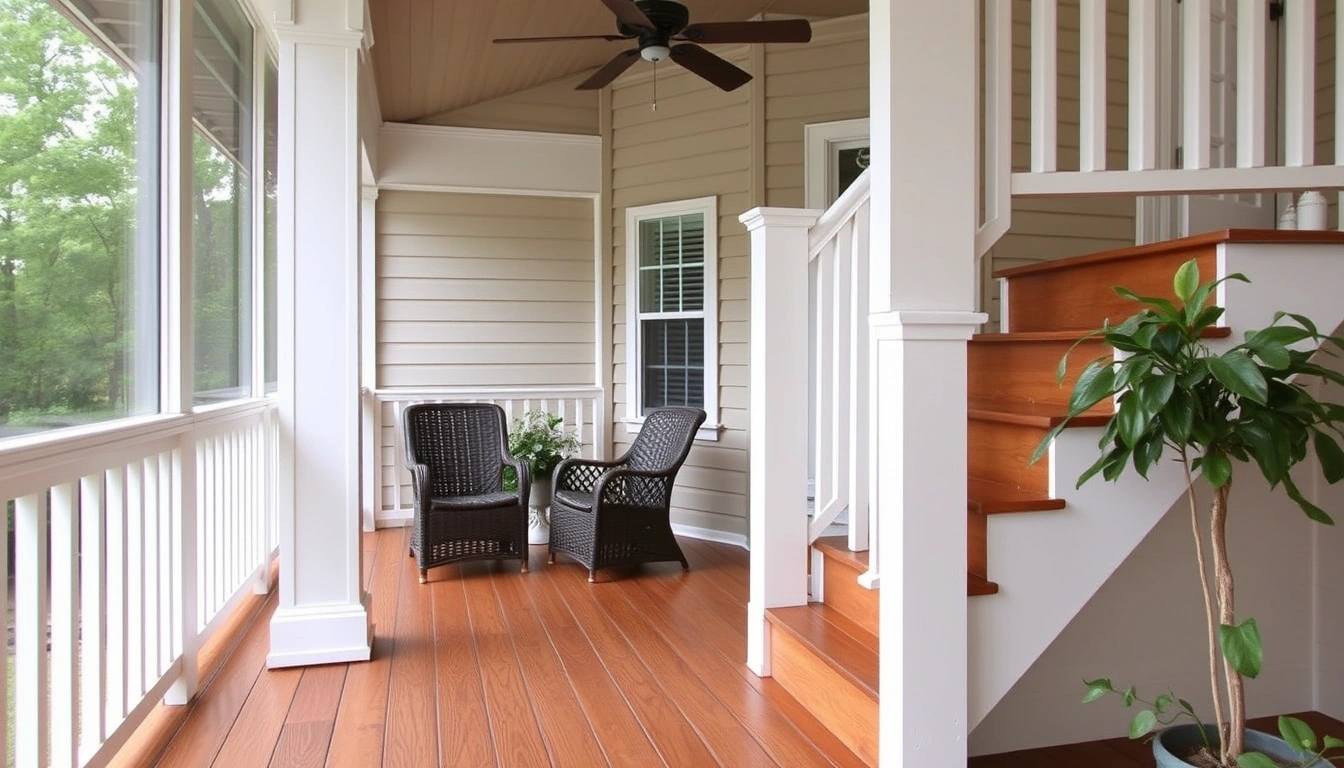
Homeowners, remodelers, and small contractors planning a screened porch attached to a house or built as a freestanding outdoor room are the people this applies to. I’m assuming you already know the basic outline of the project: posts, beams, joists, decking or porch flooring, a roof, screened openings, and one or more stair runs if the porch is elevated. Also, I’m assuming you are not asking about a simple slab-on-grade patio enclosure. Different rules. Different headache.
A screened porch is not “just a room with screens.” Once the floor sits more than a short distance off the ground, the structure usually raises the same code questions as a deck: live load, lateral stability, fall protection, stair safety, and weather exposure. In many places, the screened walls do not remove the need for guards. If the walking surface is high enough to create a fall hazard, the guard rules still apply. That part surprises people.
I would not treat this as a casual DIY job if the porch is elevated, attached to masonry, spans a long distance, or needs engineered footings. For those cases, consult the local building department or a structural professional before you build; the IRC and local amendments can change footing depth, fastener schedules, and attachment details. If your design depends on unusual spans, cantilevers, a roof load transferred through the porch frame, or stairs with limited landing space, pull the local residential code and the permit checklist before you buy lumber. Honestly, that saves a lot of grief. The code official is the person who can tell you whether your municipality has adopted the IRC as written or changed things like frost depth, footing size, or stair handrail rules.
For a plain, low porch on a straightforward framing plan, the usual baseline in the IRC is sections around decks, guards, and stairs, with local amendments layered on top. The National Association of Home Builders and state building departments often publish deck and porch guides that mirror those code concepts. When I say “code” below, I mean that whole package, not just the national model language.
What do screened porch floors have to meet?
The floor has to carry the load, shed water, and resist decay long before the screen becomes relevant. For an attached screened porch, I start with the same question I would ask about a deck: what is the design load, what is the span, and what is the material rated for that span? Most residential codes use a 40 pounds per square foot live load for sleeping or living areas, but porches and decks often have their own loading assumptions in the adopted code. Local rules can differ, so I never assume a porch floor can be built like an interior floor. That math stops working fast.
Next comes the framing. The species, grade, size, and spacing of the joists and beams all have to line up. A 2×8 joist at 16 inches on center is not automatically acceptable just because it sounds sturdy. The IRC span tables or the lumber manufacturer’s span table decide that. The floor surface itself also needs to fit weather exposure. If the porch is screened but not fully conditioned, the flooring needs exterior-rated materials, drainage details, and corrosion-resistant fasteners. A “porch floor” that traps water turns into a rot problem quickly.
I also look hard at finish elevation. If the porch floor sits close to the house threshold, you need enough step-down or threshold protection to keep water out of the wall assembly. That usually means flashing, slope, and drainage should be sorted before the final floor layer goes in. A flat porch floor that dead-ends against a door sill? Bad news.
Strength alone is not enough, either. A code-compliant floor also needs proper attachment to the house ledger, if there is one, plus proper support at posts and footings. Ledger failure is a serious structural problem on porches and decks because it can look fine until it is not. In the IRC, ledger attachment details, fastener type, and flashing are not decoration. They are part of the structure.
How do I check the porch floor details before I build?
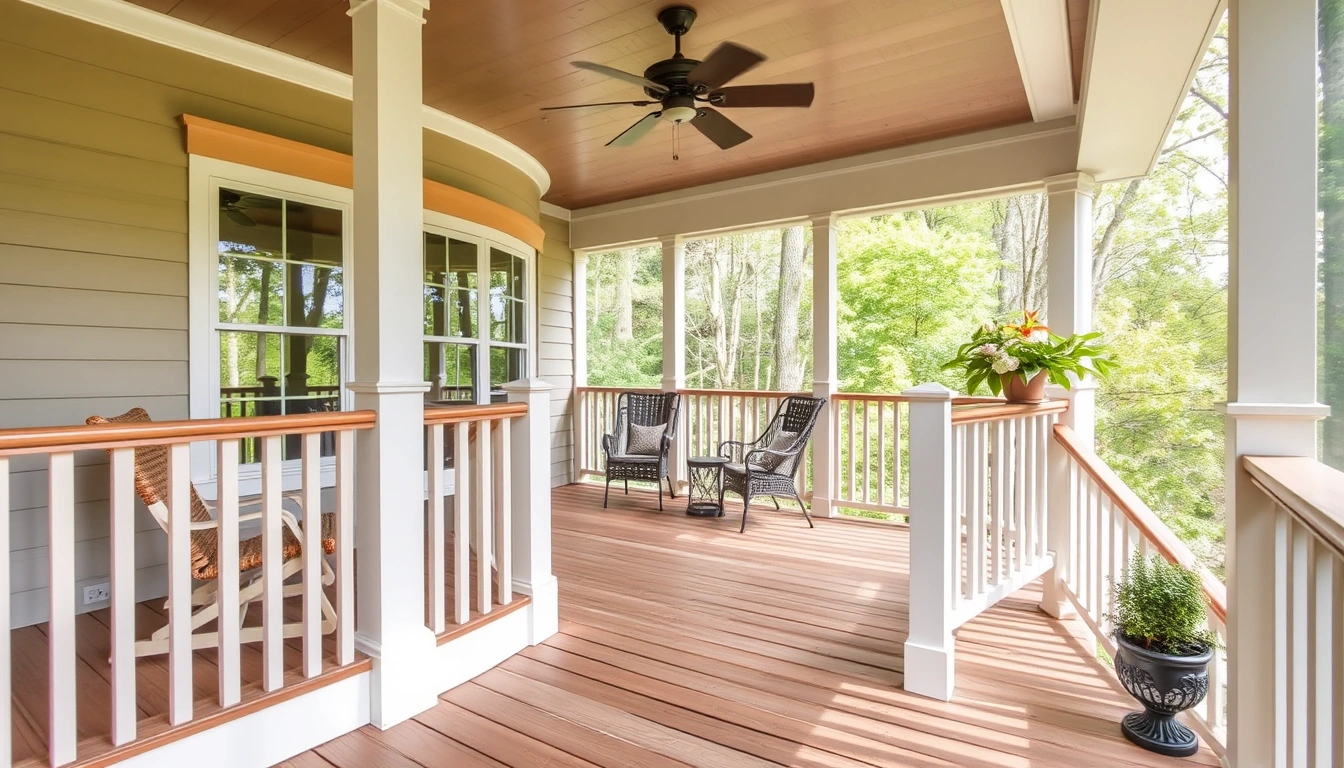
Check the floor from the load path down to the finish surface. One piece at a time. I would not skip that order, because the code does not forgive a good-looking porch with bad framing underneath it.
- Confirm the adopted code and load assumptions. Look up your jurisdiction’s residential code version and any porch or deck amendments. Verify the design live load used for the porch floor and whether the inspector treats it as a deck, porch, or sunroom. A mismatch here can invalidate every later span choice; the IRC and local amendments are the documents to confirm with the building department.
- Size the joists from a span table. Use the actual lumber species and grade, joist spacing, and clear span. For example, 2×8s at 16 inches on center may work for some spans and fail for others. Verify the table includes exterior use. A problem shows up when you are forced to exceed the published span or you need mid-span support just to make the layout work.
- Design the beams and posts with real support points. Set posts on footings below frost depth, or on the depth required locally. Verify post bases are rated for exterior exposure and uplift where needed. If the beam sits on a post cap but the footing is undersized, the floor may feel solid and still be wrong structurally.
- Attach the ledger correctly, or do not use one. If the porch is ledger-attached, use approved lag screws or structural screws, proper flashing, and spacing per code. Verify the wall framing can take the ledger load and that you are not fastening to brick veneer alone. A problem is a ledger that is “attached” only through finish layers or brittle masonry veneer.
- Provide drainage and a weather-resistant floor surface. Use exterior-rated decking, porch boards, or another approved assembly, and keep fasteners corrosion-resistant. If the screened porch is exposed to rain, verify the assembly can dry. If water pools for more than a few minutes after rain, the slope or detailing is off.
- Check the floor height against guard requirements. Measure the vertical drop from the walking surface to grade below. If that drop reaches the code threshold for guards in your area, plan the railing now, not later. A common problem is discovering too late that the finished floor is high enough to require a guard all around the open sides.
- Inspect stair and doorway transitions from the floor level. Confirm there is enough landing space and that the door threshold does not create a trip edge. If the door swing eats into the usable landing or the first step is irregular, the floor layout needs revision before finish materials go down.
This is where a lot of generic advice falls apart. People focus on screens, trim, and ceiling fans, but the real code risk is the structure under your feet. If you are unsure about a ledger on an older house, a masonry wall, or a cantilevered edge, that is not a cosmetic detail. Structural issue. Full stop.
What railing height and spacing usually apply to a screened porch?
Usually, the guard follows the same fall-protection rules that apply to a deck edge. In the IRC, guards are generally required where the walking surface is more than 30 inches above grade within 36 inches horizontally, though local amendments can change that trigger. The usual minimum guard height for residential guards is 36 inches on decks and porches, but some jurisdictions require 42 inches in certain situations or for multifamily and commercial settings. I would never assume the screens themselves count as the guard.
That last point matters. Screen mesh, screen panels, and even wood framing with screening in between do not automatically meet the guard opening limits. The code cares about whether a 4-inch sphere can pass through the open spaces in most residential guard conditions. So baluster spacing, panel detailing, and the bottom gap all matter. A screened porch with handsome framing but 5-inch clear gaps between vertical members is still a code problem. Pretty, maybe. Compliant, no.
The top rail also matters. It must be secure enough to resist the required concentrated load and uniform load for guards. You do not need to calculate the engineering by hand if the railing system is prescriptive and accepted by your code official, but you do need to avoid weak connections. Toe-screwed rails, decorative panels, and loose caps are common failure points.
I also watch the handrail question separately from the guard question. A guard keeps people from falling off the edge. A handrail is a graspable rail along stairs, usually required when there are enough risers. They are not interchangeable, and they are not built to the same height or shape. On a screened porch, people often combine them visually, which is fine only if the assembly still satisfies both rules. Fussy, yes. Necessary, also yes.
If your porch is low to the ground, you may not need a guard at all. That is one of the few times the code gets simpler. But if the porch is more than a short step up, I would design the guard as if the inspector will measure the drop with a tape, because that is exactly what happens.
How do I build stairs that pass inspection?
Build the stairs by matching tread, riser, width, landing, and handrail details to the code, not by eyeballing what feels comfortable. The exact numbers can vary by adopted code, but the common residential baseline in the IRC is a maximum riser height around 7 3/4 inches and a minimum tread depth around 10 inches, measured consistently from nosing to nosing. Stair geometry is unforgiving; one off-sized step creates a trip hazard every time someone uses it.
Consistency gets my attention first. The maximum variation between the tallest and shortest riser is tightly controlled, and the same is true for tread depth. If your framing forces one odd step at the bottom, that is usually a sign the stair layout needs to be redrawn. People often try to “make it work” with finish materials. That is how code violations hide in plain sight.
Landings matter just as much as the steps. At the top and bottom, you need a landing that gives a safe transition. At an exterior door, the porch or landing size often has to allow the door to open without reducing required egress space too much. If a screen door, an entry door, and a stair all fight for the same square footage, the design needs adjustment before the first stringer is cut.
A stair on a screened porch also needs proper handrails when the rise count or height requires them. Handrails are usually graspable, continuous for the length of the stairs, and mounted in a range around 34 to 38 inches above the stair nosings in many residential codes. If you use a wide decorative cap rail, it may not qualify as a handrail. The shape has to be something a hand can actually hold.
The stair framing itself should use exterior-rated stringers, corrosion-resistant connectors, and a stable base at the bottom. If a stringer sits in wet soil or on a poorly drained paver pad, it will rot or move. A staircase can pass code on paper and still feel unsafe if it rocks, twists, or settles. So I treat the sub-base as part of the stair system, not a separate landscape detail.
When should you stop and change the design?
Stop when the porch design stops matching prescriptive code and starts depending on guesswork. That is the point where a simple build becomes a judgment call, and judgment calls are where inspections fail.
The porch is taller than 30 inches above grade within 36 inches of the edge: that usually triggers guards — add code-compliant rails before you frame the finish surface.
The ledger would land on brick veneer, stone veneer, or questionable sheathing: that is not a safe structural attachment point — switch to a freestanding porch or have the wall attachment verified.
The stair rise will create one odd-height step: that creates a trip hazard and often fails inspection — change the total rise or the stair location.
You cannot keep tread depth and landing size within code at the same time: the layout is too tight — redesign the porch dimensions, not just the stairs.
Your beam or joist spans exceed the span table for the lumber you want to use: the framing is undersized — upsize the members, add posts, or shorten the span.
The porch roof load is being carried by the screened walls or a decorative railing: those members are not meant to do that — move the load to posts and beams designed for it.
When I hit one of those conditions, I stop treating the problem as a finish selection exercise. That is the wrong tool for a structural or code issue. Wrong layer, wrong fix.
The mistakes people actually make, and what they cost
The most common mistake is assuming the screen enclosure changes the code category. It usually does not. The consequence is a porch with no proper guard, no stair handrail, or floor framing sized too lightly for exterior exposure. The correct alternative is to code the structure as an exterior porch from the start.
Another mistake is building the floor level first and discovering the stair and door problems later. That costs time and lumber because the stair geometry may no longer work. The better alternative is to lay out the finished floor elevation, stair count, and landing dimensions on paper before framing. Old-school, maybe. Still smarter.
A third mistake is using interior fasteners or untreated connectors where the porch will stay damp. Corrosion follows, especially in shaded screened spaces. The correct alternative is hot-dip galvanized or otherwise code-approved exterior hardware matched to treated lumber and exposure conditions.
A fourth mistake is treating railing infill as decorative only. Spacing that looks fine to the eye can still violate the 4-inch sphere rule. The consequence is a failed inspection or, worse, a fall hazard. The better alternative is to build the guard to code spacing from the beginning, then choose the appearance within that limit.
A fifth mistake is ignoring the difference between a handrail and a guard. They solve different problems, and the inspector will check both if the porch has stairs and elevated edges. The correct alternative is to detail each one separately, even if the finished design makes them look unified. Close, but not the same.
Sources and code references
The IRC remains the main reference for screened porch building codes for floors, railings, and stairs in many jurisdictions, but local amendments control the final answer.
The International Code Council’s IRC and the American Wood Council’s span tables are the two most common technical references for porch floor framing, guard loads, and stair geometry.
State and local building departments often publish deck and porch handouts that translate the code into permit checklists, footing depth requirements, and inspection details.