Screened Porch Design and Material Choices — The Complete Guide
September 10, 2026
Last updated: September 10, 2026
Key Takeaways
- Check that door swings, furniture clearance, and circulation still work at a minimum width that feels useful, often 8 to 12 feet for a small porch.
- A screened porch is still an exterior structure in most places, even when it feels like a room.
- A screened porch may look simple, but the failure points are usually hidden in water management and framing.
- A screened porch that lasts is mostly a moisture-control project with good proportions.
A well-designed screened porch gives you outdoor air, shade, and bug protection without pretending it is a fully conditioned room. This screened porch design material choices — complete guide focuses on which structure, screen, roof, floor, and finish choices will hold up in your climate, on your budget, and under your local code.
Who this is for — and what you need to know first
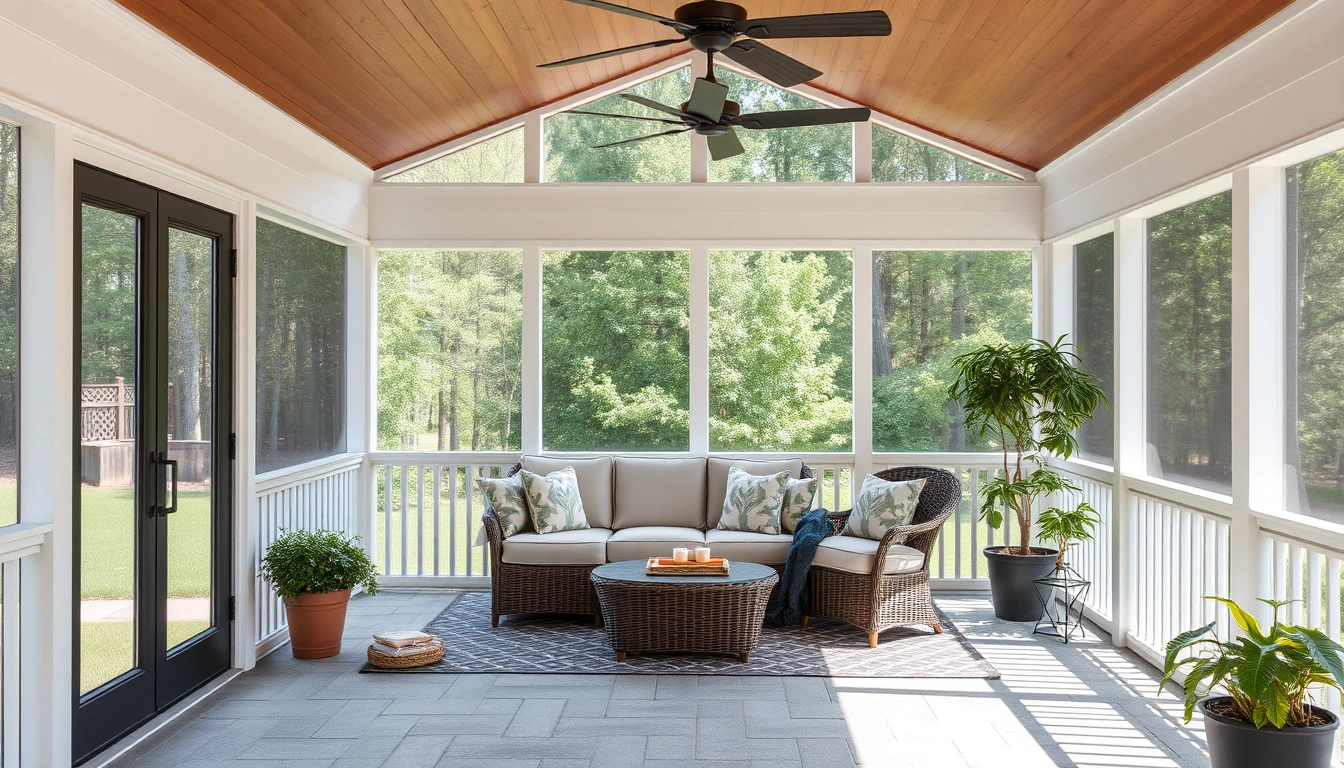
This screened porch design material choices — complete guide is for a homeowner planning a screened porch from scratch, or converting an existing deck, patio, or open porch into a screened space. You probably already know the main objective: keep insects out, cut down on rain and sun, and make the area pleasant enough to use week after week. I’m also assuming you are choosing materials, not just colors.
Not the right starting point? If you are really building a fully enclosed three-season room, a conditioned sunroom, or an addition with HVAC, this isn’t it. Those projects bring a different pile of structural, insulation, moisture-control, and permit questions. A screened porch is still an exterior structure in most places, even when it feels like a room.
Start with the platform or the roof. That is the first fork. If the deck framing is undersized, if the ledger attachment is suspect, or if the roof tie-in will alter load paths, consult a structural engineer, a qualified contractor, or your local building department before you proceed. The same goes for changes to eaves, fascia, drainage, or porch foundations. A screened porch may look simple, but the failure points are usually hidden in water management and framing. The International Residential Code is a useful reference here, but local amendments still control.
Climate matters too; a lot. Coastal Florida, central Texas, Minnesota, and the Pacific Northwest do not want the same screen type, flooring, or fasteners. Salt air, freeze-thaw cycling, wind exposure, and intense UV all change the answer. A detail that works fine in a sheltered backyard can fail in a year on an exposed corner lot. In a wind-prone or coastal area, a builder may specify stronger connectors, stainless fasteners, and tighter flashing details.
Need the blunt version? Build the frame like a small exterior structure, choose corrosion-resistant materials, prioritize drainage over decoration, and do not let the screen itself carry the design burden. Honestly, that trade-off saves money later. A screened porch that lasts is mostly a moisture-control project with good proportions.
What makes a screened porch work?
A screened porch works when the structure, roof, floor, and screen system all match the way the space will actually be used. A screened porch design material choices plan also works better when you accept that even a handsome porch can feel uncomfortable if it traps heat, leaks at the roof line, or uses materials that swell, rust, or sag in the first hard season.
The core design choices are fourfold:
- Structure — posts, beams, joists, and connections.
- Roofing — whether it is tied into the main house or built as a separate roof.
- Screen system — mesh type, frame system, and how panels are supported.
- Finish surfaces — floor, ceiling, trim, railings, and hardware.
A lot of generic writing treats “screen material” as the big decision. It isn’t. Screen choice matters, sure, but the bigger mistakes come from ignoring span limits, water runoff, and the way wind moves through the porch. Too open, and it feels like a wind tunnel; too closed, and humidity hangs around like a bad guest.
I’d rank performance this way: dry first, strong second, comfortable third, pretty last. Harsh? Maybe. But it keeps you from picking a decorative ceiling beadboard or a fancy floor before flashing, slope, and frame layout are sorted out. A 24-inch roof overhang can help with shade, for example, but only if the porch roof and wall details are already working.
A screened porch also sits in a middle category between exterior and interior. That matters for material choices. You are not in full rain exposure all day, but you are not protected like a conditioned room either. So materials should be chosen for intermittent wetting, high humidity, UV exposure, and frequent temperature swings. That usually points toward pressure-treated framing where appropriate, fiber-cement or PVC trim in vulnerable spots, stainless or coated fasteners, and flooring that can shed water.
One useful standard to know is AWPA U1, the American Wood Protection Association standard for preservative-treated wood categories. Consult a professional if you are specifying lumber, because not all “treated wood” is treated for the same exposure. Also useful is the IRC, the International Residential Code, which your local building department may adopt in whole or in part. That code is where span tables, guard requirements, and structural basics come from.
If your plan depends on “the carpenter will just figure it out,” brace yourself; that is where the porch often gets expensive later.
How do I design a screened porch step by step?
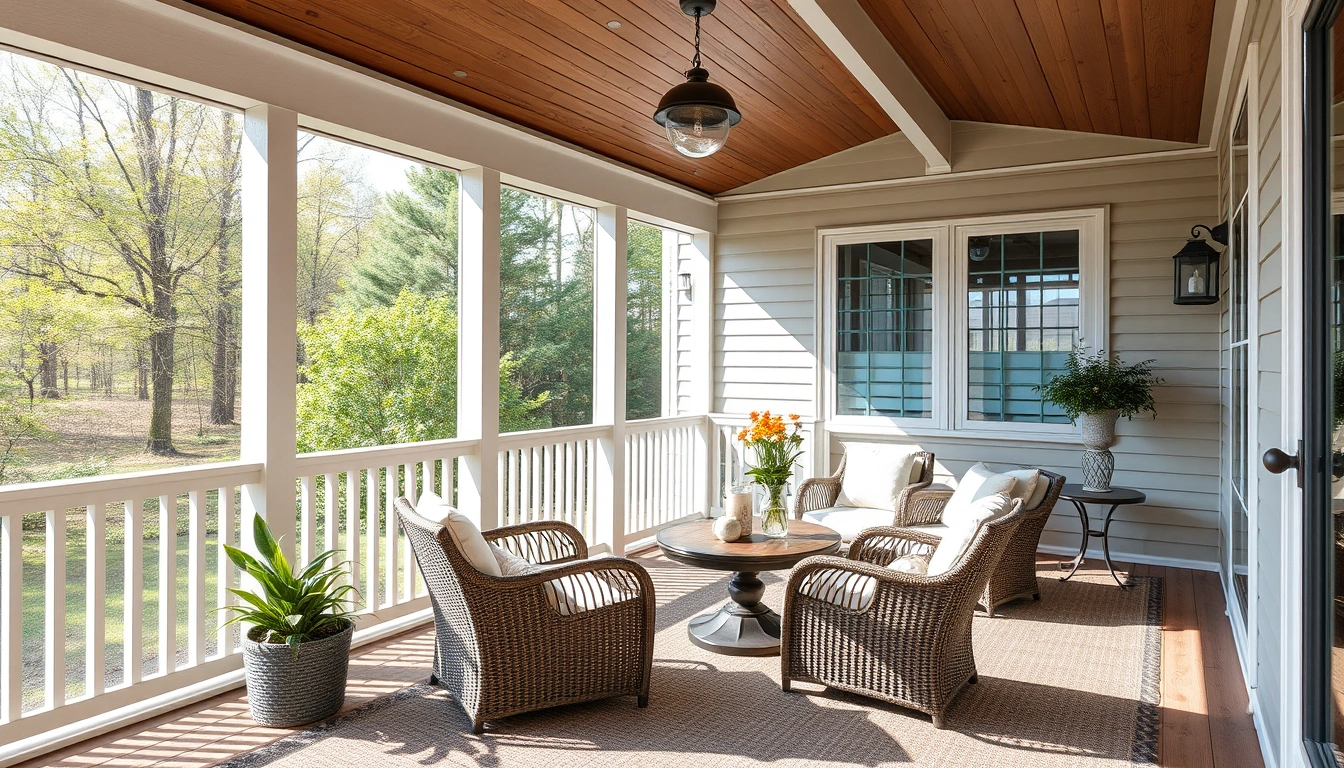
Fix the site, the structure, and the envelope first. Then choose finishes. The order matters because a beautiful finish cannot correct a bad slope, weak frame, or poor roof transition.
- Confirm the porch type and size. Decide whether the space is a new build, a deck conversion, or an addition off an existing slab, and sketch the usable interior footprint in 2-foot increments. Verify that door swings, furniture clearance, and circulation still work at a minimum width that feels useful, often 8 to 12 feet for a small porch. When the plan leaves no room for a table and chairs without crowding the screen walls, a problem shows up.
- Set the roof strategy first. Choose between a shed roof, gable roof, or tie-in under the existing house roof. Check the roof pitch and the gutter path before finalizing anything; a porch roof should shed water away from the house, not toward it. If flashing would have to fight against existing roof geometry or if the new roof line creates a dead valley, a problem shows up.
- Lay out post and beam spacing. Use member spacing that fits your span tables and local code; do not guess. For many residential porches, post spacing often lands in the 6- to 10-foot range, but the actual limit depends on beam size, load, and species. Verify that spans are within the engineered or code-prescribed limit. Wide-open corners without hidden steel or heavier beams? That is where a problem shows up.
- Choose a floor that tolerates moisture. If you are on a deck, confirm the framing can take the added weight of finishes and railings. For new construction, set the floor slope only where drainage is needed; a screened porch floor is usually level, but the details at transitions must still move water away from the house. Verify that any boards, tile backer, or pavers are suited for exterior exposure. Interior-grade materials used because the porch is “mostly dry” — that is how a problem shows up.
- Specify the screen system. Pick mesh type, color, and framing method. Standard fiberglass mesh is common, but pet-resistant, aluminum, and polyester options behave differently under tension and abrasion. Verify that the frame can hold the chosen mesh without sagging over long openings. Oversized openings make the screen drum, wrinkle, or tear at the spline groove; then a problem shows up.
- Detail the openings and hardware. Decide where doors, locks, closers, and thresholds go, then make sure the clear opening and swing direction suit furniture and traffic. Check that hinges, latches, and fasteners are corrosion-resistant, especially near salt water. If the screen door catches on the floor or hardware rusts before the first season is over, a problem shows up.
- Plan moisture control and airflow. Leave space for air movement at the eaves or upper wall zones if your design allows it, and use flashing at every house connection. Verify that soffit, drip edge, and wall flashing work together as one system. Condensation, staining, or musty odor means the porch was detailed like an indoor room; that is when a problem shows up.
- Choose trim and ceiling finishes last. Select material that can handle occasional wetting and UV. PVC trim, fiber-cement trim, and properly detailed cedar are common choices, each with trade-offs. Verify that fasteners and caulk are compatible with the material. A “low-maintenance” finish can still need annual repairs if joints were not detailed correctly; seen that before, and it’s annoying.
Two rules I would not skip. First, do not choose the screen before you know the structural spacing. Second, do not choose decorative trim before you know how water leaves the assembly. Get the roof and flashings right, and the rest gets easier.
Which screened porch materials hold up best?
The best materials for a screened porch are the ones that tolerate damp air, UV, and occasional wetting without warping, rusting, or becoming hard to maintain. That usually means thinking in assemblies, not products: framing, screening, trim, floor, ceiling, and fasteners all need to work together.
For framing, pressure-treated lumber is the baseline for many projects, especially where wood may be exposed to moisture. If you are specifying treated wood, consult a professional and ask for the correct exposure category under AWPA U1 rather than just “treated.” For posts and framing close to weather exposure, I would favor treatment and connection details that reduce standing moisture. Untreated lumber in a screened porch can work only where it is fully protected and dry enough to justify the risk, which is not most porch conditions.
For trim, there are three common paths: wood, PVC, and fiber-cement. Wood looks natural and is easy to shape, but it needs paint maintenance and careful end-grain sealing. PVC resists rot and is useful in wet zones, but it expands and contracts more than wood and can look too plastic if the profiles are oversized or poorly joined. Fiber-cement is stable and rot-resistant, but it is heavier, more brittle at edges, and less forgiving around detailed trim. I’d choose PVC for the most exposed trim and wood where the detail is shaded and maintenance is realistic.
For the screen mesh, the choice is about durability, visibility, and airflow. Fiberglass mesh is common because it is flexible and easy to install. Aluminum mesh is stronger than fiberglass in some situations but can crease and corrode in harsh environments if the coating is compromised. Polyester and “pet-resistant” mesh are thicker and tougher, but they can reduce visibility and airflow slightly. No screen is invisible. The trade-off is always between strength and openness.
For flooring, a screened porch is usually best served by materials that do not mind humidity and intermittent rain blow-in. Concrete, properly detailed exterior wood decking, composite decking, and some exterior-rated tile systems can all work. Interior hardwood floors are the wrong choice here. Composite decking reduces repainting, but it can run hotter in sun and may expand more than expected. Wood decking feels better underfoot and can be refinished, but it brings ongoing maintenance and fastener staining if the wrong species or coating is used.
For fasteners and connectors, I would be strict. Hot-dip galvanized or stainless steel is usually the right conversation, especially in coastal or high-humidity settings. Standard interior fasteners are a false economy. If a porch is near salt air, stainless often earns its keep.
For roofing, use the same logic as the main house: a roofing material that matches climate, slope, and house architecture. Asphalt shingles are common and cost-conscious. Metal roofing sheds water quickly and can suit shed roofs well, but it changes the sound and look of the porch. The critical point is not the brand name. It is how the porch roof intersects the main roof and wall flashing.
A generic guide often says “use low-maintenance materials.” That phrase hides the trade-offs. Low maintenance can mean higher upfront cost, less warmth, more movement, or more careful installation. I’d rather have a material with a known drawback than one sold as maintenance-free.
What details make or break comfort?
Comfort in a screened porch comes from controlling heat, glare, insects, airflow, and noise, not from adding more decorative finishes. A porch can be beautifully built and still sit empty if it is too hot at 3 p.m. or too drafty on a windy evening.
The first comfort detail is orientation. West-facing porches can be brutal in late afternoon sun. South-facing porches may need more roof overhang or shade management. If your site allows it, plan for the sun path before you commit to screen type or ceiling finish. A 24-inch to 36-inch roof overhang can help, but the right dimension depends on latitude and roof shape.
The second is screen density and visibility. Standard insect screen keeps out most bugs, but finer mesh can improve pest control at the cost of airflow. That may be a fair trade in areas with very small insects, though it can also make the porch feel warmer and darker. If the porch is your summer room, don’t over-screen it unless the local bug pressure justifies it.
The third is ceiling treatment. A finished ceiling can make the porch feel like part of the house, but the ceiling material must tolerate humidity. Beadboard, tongue-and-groove wood, or exterior-rated panel products can all work when detailed correctly. I would avoid assuming that a “covered” porch ceiling is dry enough for any interior panel. It usually is not.
The fourth is lighting and fans. A ceiling fan can make a screened porch usable on warm days, but only if the ceiling height and structural support are planned for it. Electrical work on a porch needs outdoor-rated fixtures and proper protection, including GFCI where required by code. If the fan will be installed later, make sure blocking and wiring provisions exist now, not after the ceiling is closed.
The fifth is acoustics and floor feel. Hard surfaces reflect sound. That can make conversation echo more than people expect. A wood ceiling, rugs designed for outdoor use, and less boxy proportions soften that effect. I wouldn’t count on a fancy screen fabric to fix acoustics. The real fix is volume and surface mix.
The biggest comfort mistake is trying to make a screened porch behave like a room with glass. It is not that. It should breathe. If you want a sealed, climate-controlled space, build that instead.
What should you stop and rethink before you build?
Stop and rethink the plan when the porch design starts fighting the structure, the climate, or the code. A screened porch is forgiving in some ways, but not where load, water, or attachment are concerned.
Your existing deck framing is undersized: If the joists, beams, or posts were built for an open deck and you now want roof loads and screened walls, the structure may be underbuilt — Recalculate loads and, if needed, upgrade framing before adding walls or roof. A weak frame can lead to sagging, cracked finishes, and structural failure.
The porch would create a tricky roof valley or house tie-in: If the new roof line would dump water into a valley, fascia corner, or poorly flashed wall, the leak risk is high — Change the roof geometry or use qualified roofing help. Water problems on a porch are expensive because they hide in the wall and ceiling.
You are in a high-wind, coastal, or hurricane-prone area: Wind uplift and corrosion become primary concerns — Use wind-rated fastening, corrosion-resistant hardware, and code-compliant connections, and do not improvise with lightweight trim or mesh. In these areas, small failures become repeated repairs.
You want it to act like a three-season room: If you are planning space heaters, portable AC, or full weather sealing behind the screen, the design goal has shifted — Switch to a different enclosure type. A screened porch cannot be expected to perform like a conditioned enclosure.
The site stays wet or shaded for long periods: Persistent dampness accelerates rot, mildew, and stain failure — Improve drainage, raise the structure, or reconsider whether the location is right for a porch at all. A wet site turns maintenance into a constant job.
Your local code or HOA limits porch modifications: If setbacks, railing rules, fire separation, or appearance rules constrain the design, the plan may need revision — Confirm requirements before ordering materials. A late change can waste framing, roofing, and permit time.
You cannot maintain wood finishes regularly: If you know you will not repaint, reseal, or inspect joints every season or two, wood-heavy details are the wrong choice — Shift toward more durable trim and simpler profiles. The prettier choice can become the most expensive one.
The mistakes people actually make, and what they cost
The most common screened porch mistakes are not flashy. They are small decisions that make the space leaky, hot, or hard to maintain.
-
Choosing the screen first. The consequence is that the frame spacing and openings do not suit the mesh, which leads to sagging and tears. The better alternative is to size the structure first, then match the screen system to it.
-
Using interior-grade trim or fasteners. The consequence is swelling, rust staining, popped joints, and premature repainting. The better alternative is exterior-grade trim and corrosion-resistant fasteners from the start.
-
Ignoring roof drainage. The consequence is water where it should never be: behind flashing, at the wall plate, or under ceiling finishes. The better alternative is to treat flashing and drip edges as part of the design, not a final detail.
-
Building too little overhead shade. The consequence is a porch that looks finished but is barely usable in summer. The better alternative is to size the roof overhang and orientation around sun exposure, not just appearance.
-
Overcomplicating the material palette. The consequence is too many transition points, more caulk joints, and more future repairs. The better alternative is to use a limited set of compatible materials, then detail them cleanly.
-
Treating a conversion like a simple screen job. The consequence is underestimating structural loads